Hi all! Welcome back to the Pinkfresh Studio blog! I’m up on the blog today with a card that is simple in design but packs a punch. I wanted a layout that lets those lovely illustrated flowers be the focal point. I used the new Breezy Blossoms press plate to hot foil with and the accompanying stencil set and die for a simple, flowery card.
I started with the flowers today; I used black foil with the Breezy Blossoms press plate. Then I used the Breezy Blossoms stencil set with Sunkissed and Fruit Punch inks on the blooms and Sage for most of the leaves and stems and Spruce Tips just here and there for a bit of variation.
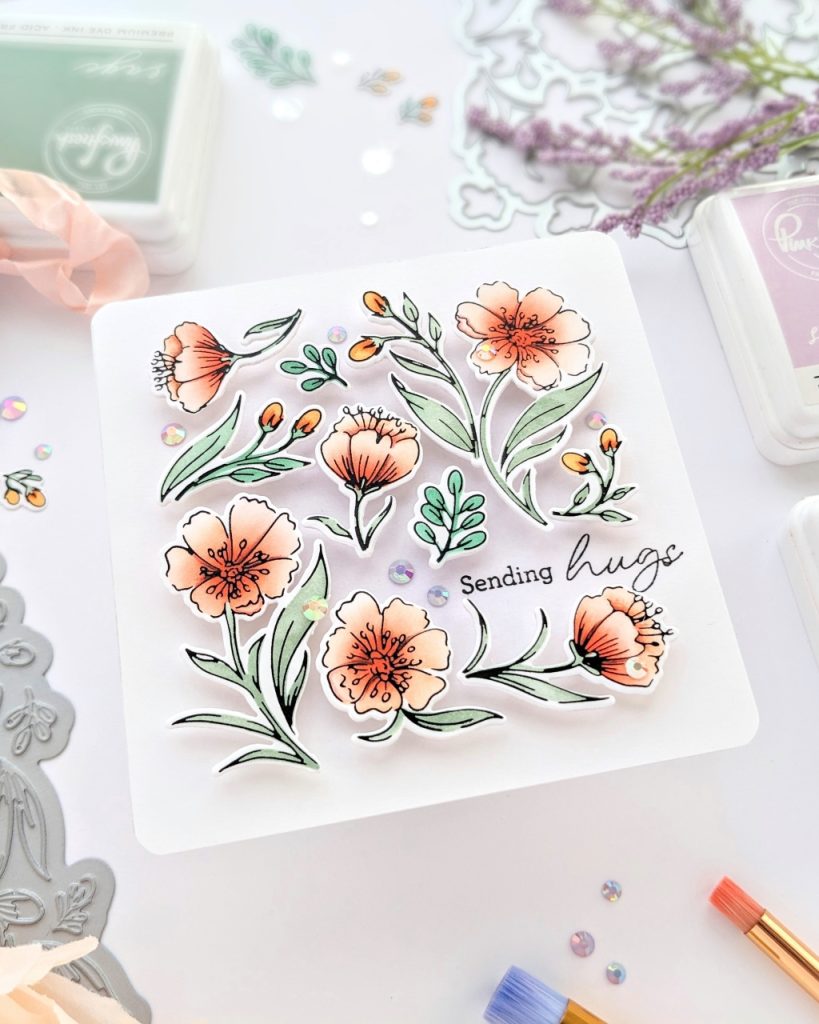
The Pinkfresh blender brushes were perfect for this project. I used the 1/2 ” brush to swirl the lightest orange color lightly, starting in the center or base of each bloom and then blending out, trying to leave little to no color at the tips of the petals. Then I went in with the smaller, 1/4 ” blending brush and the darkest orange (making sure to dab off some of the ink before coloring) in the Chasing Sunsets collection, Fruit Punch, to very lightly swirl the bold color around the deepest part of the bloom.
The stems and leaves were all colored in with Sage. But there were a few pieces that I colored with Spruce Tips for a bit of variation.
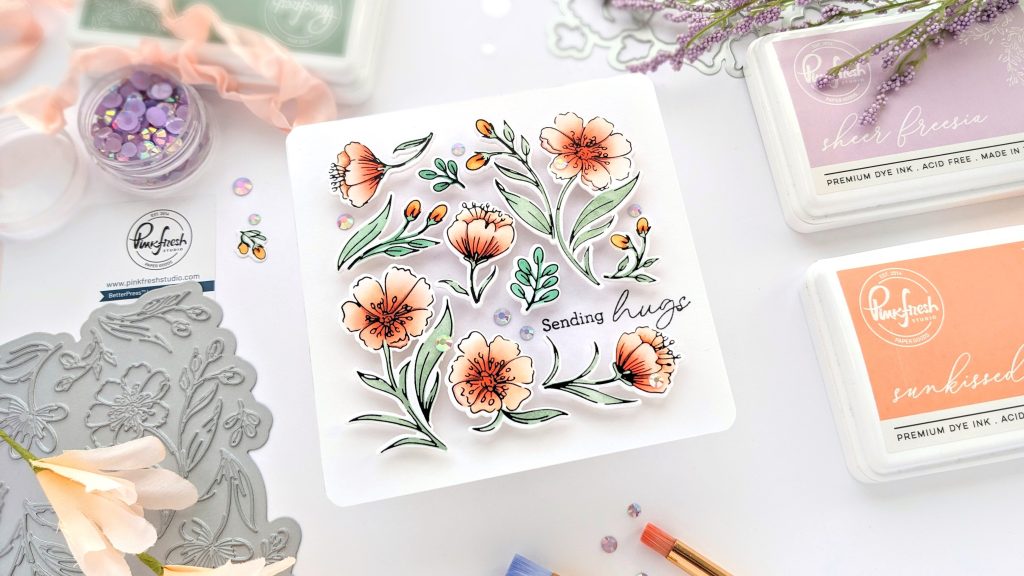
I die-cut everything out, then used the die again with more cardstock to double up the die-cut pieces to make them stronger. I also ended up fussy cutting a double-bloom in two. Then I got out a square panel of cardstock at 4 1X4 in. to lay down my pieces to puzzle them out to fill in the square, leaving a border. These bendy, swooshy flowers in different sizes are great for this type of card design!
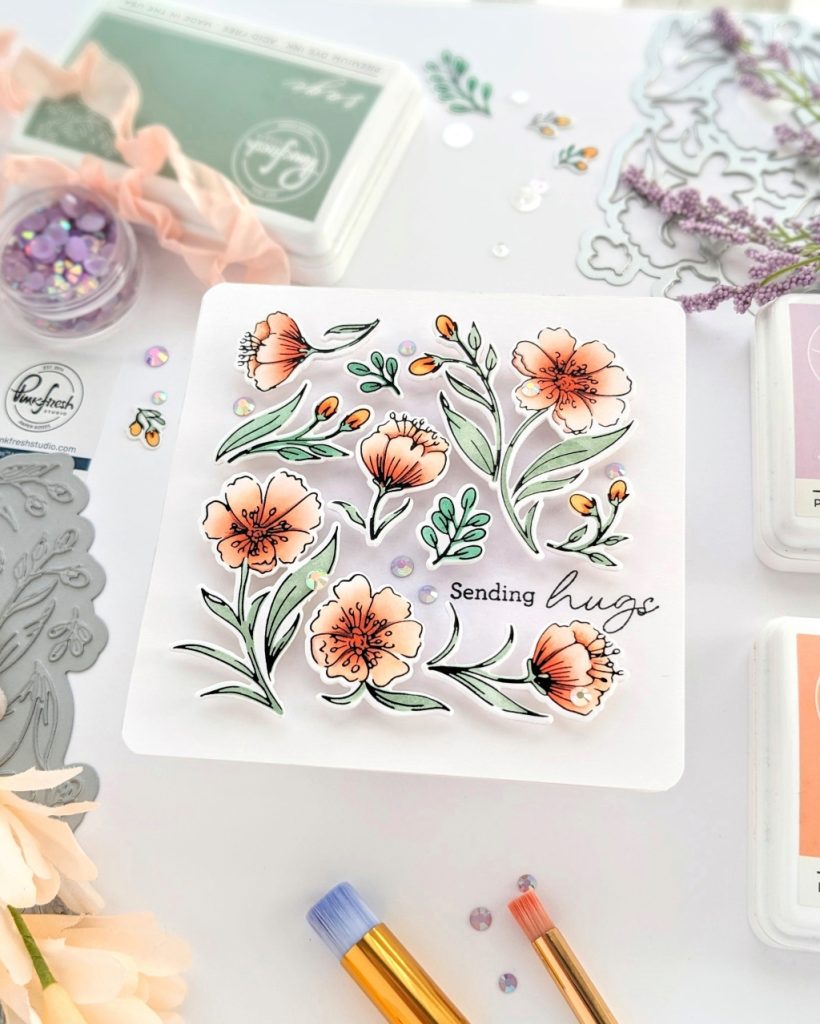
When I had figured out where I wanted everything, leaving space for a sentiment, I took a picture of the layout and moved everything off. I decided to use Pinkfresh’s Sheer Freesia just in the center of that white topping panel. Blending it out so that there were no harsh lines. I loved this addition; it’s a very subtle color but really helps those die-cut flowers pop!
Before I glued the topping panel to my cardbase, I stamped the sentiment from the Basic Banners: Everyday Stamp. I like that the sentiment sticks out from the box shape just a little and moves into the border space. I doubled up the small foam tape pieces when I adhered the flowers and did not worry about getting foam tape under every bit of them.
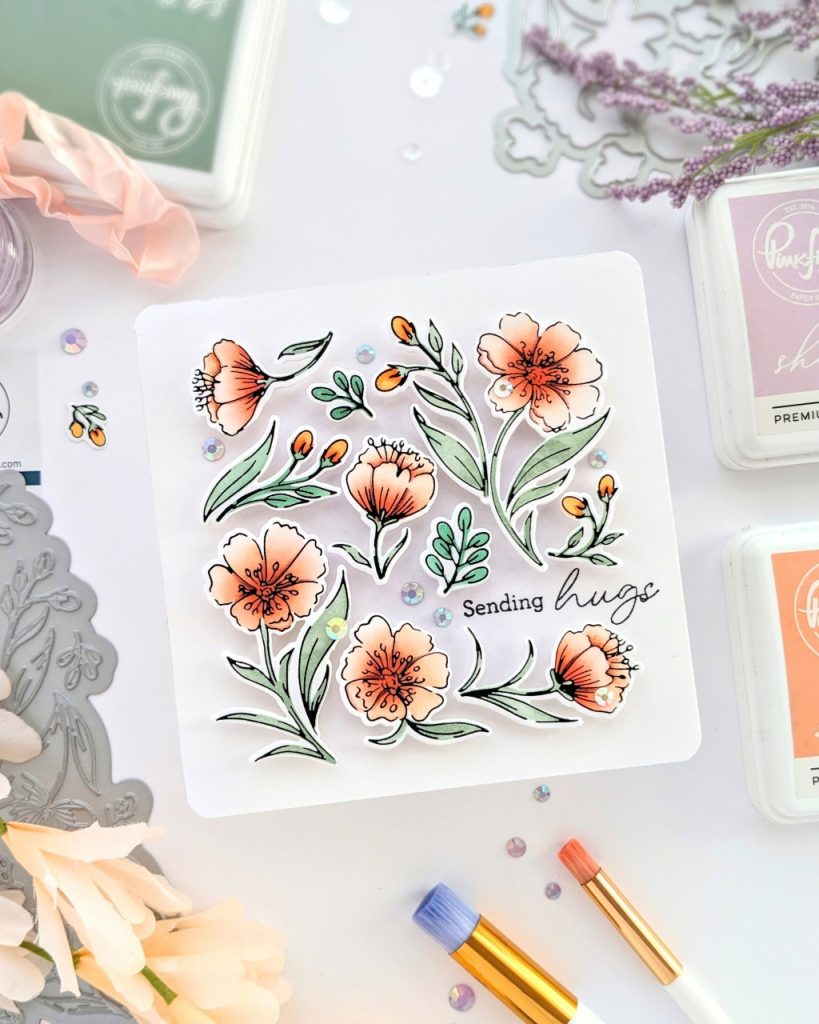
When everything was stuck down, I added some Lavender Jewels on the panel and Peach Fuzz Jewels on the flowers. Pretty! Then I was done!
I hope that some of these design choices have inspired you to make something new today! Thanks so much for stopping by!