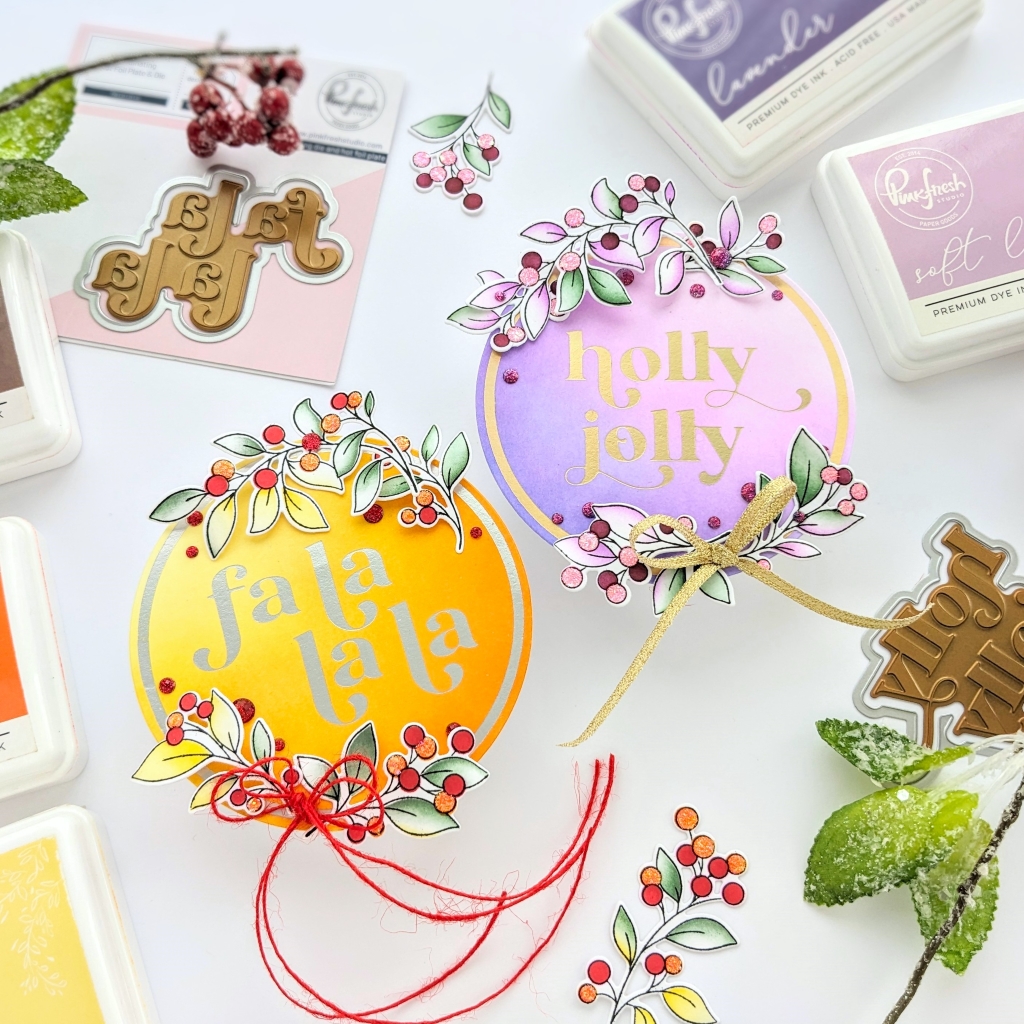
Hi guys! I’ve got a couple of circle cards to share today. I was inspired to make these boldly colored, circle cards using Pinkfresh Studio’s two new large, Christmas sentiment hot foil plates, Fa la la la and Holly Jolly. I added a few sprigs from their Winter Berries Frame design suite, using the stamp, stencil, and die set for some pretty decoration.
I started with two panels of 5 1/2 X 8 1/2 inch white cardstock. I used Pinkfresh’s largest circle die and traced a circle onto the cardstock, using a pencil and running it around the outside of the circle lightly so I would have a defined area to ink. I don’t usually prefer to die cut then color because the brush will catch on the edges, and color will build up. Sometimes I don’t mind that this time I didn’t prefer it. Plus, with all that extra space on the panel, I didn’t have to worry about my fingertips getting on the inking.
I used Lemon Whip, Sunshine, Sweet Mustard, Marigold, and Clementine with a large blending brush for the yellow circle. Then I used a little Doe over the Clementine to make the orange more pumpkin and a little less bright.
For my purple circle, I used Soft Lilac, Lavender, and then Blue Jay with Candy Violet brushed lightly over it. I love to play with these ink colors! It gave me a lovely blue-purple circle.
Then, I used Pinkfresh’s Nested Circles hot foil to foil circles onto the panels. I could have done the foiled sentiments at the same time. However, I was nervous about getting everything lined up correctly and decided to foil the sentiments after I foiled the circles.
I used the Aura hot foil roll with the Holly Jolly sentiment hot foil plate and Matte Silver foil with the Fa La La La plate. When everything was foiled, I used the Nested Circles die set to cut them out.
Then, I used the same large circle die to cut out additional circles from white cardstock. I put them into a scoreboard and scored a line about 3/4 of an inch from one ‘side’ of the circle. I applied glue to that small space that was scored off and made sure the line was horizontal to the sentiment when I adhered it to the back of my colored circle.
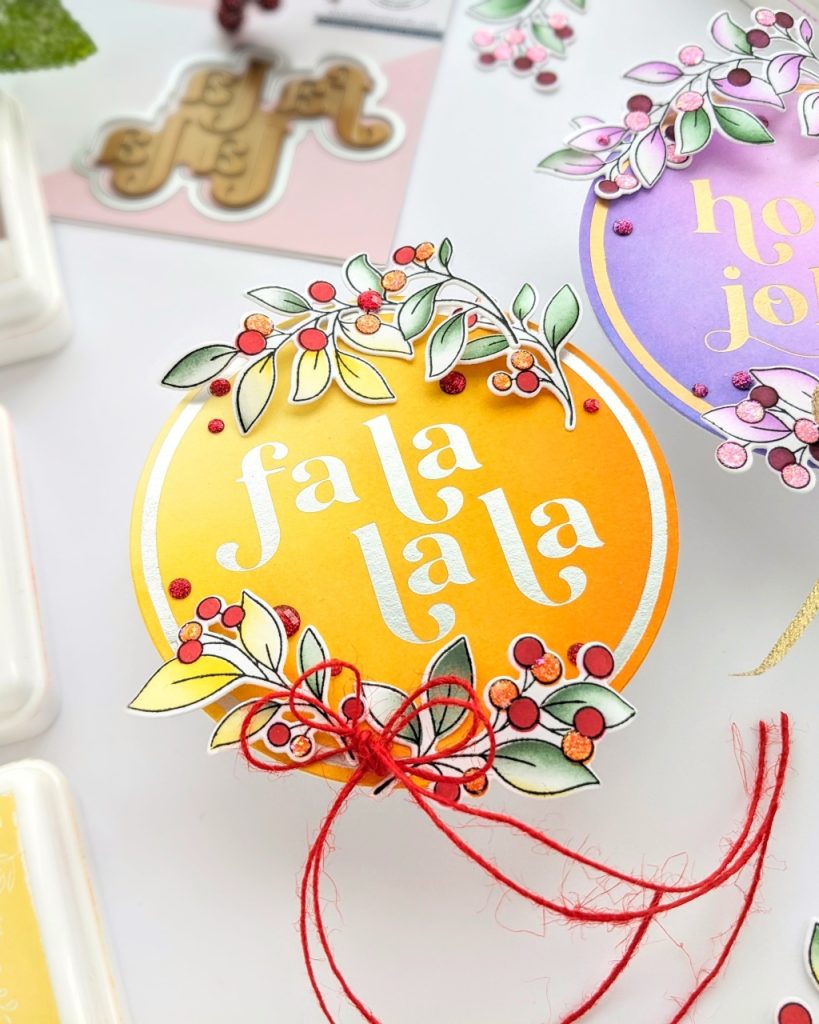
I stamped some sprigs from the Winter Berries Frame design suite, stenciled them, and cut them out. The berries for the yellow card were Berrylicious and Clementine, and the berries for the purple card were Sparkling Rose and Regal Kiss. I used the stencil to apply a clear glitter gel over some of the berries because I love to use my glitter gel when I can. I’m having so much fun making these cards!
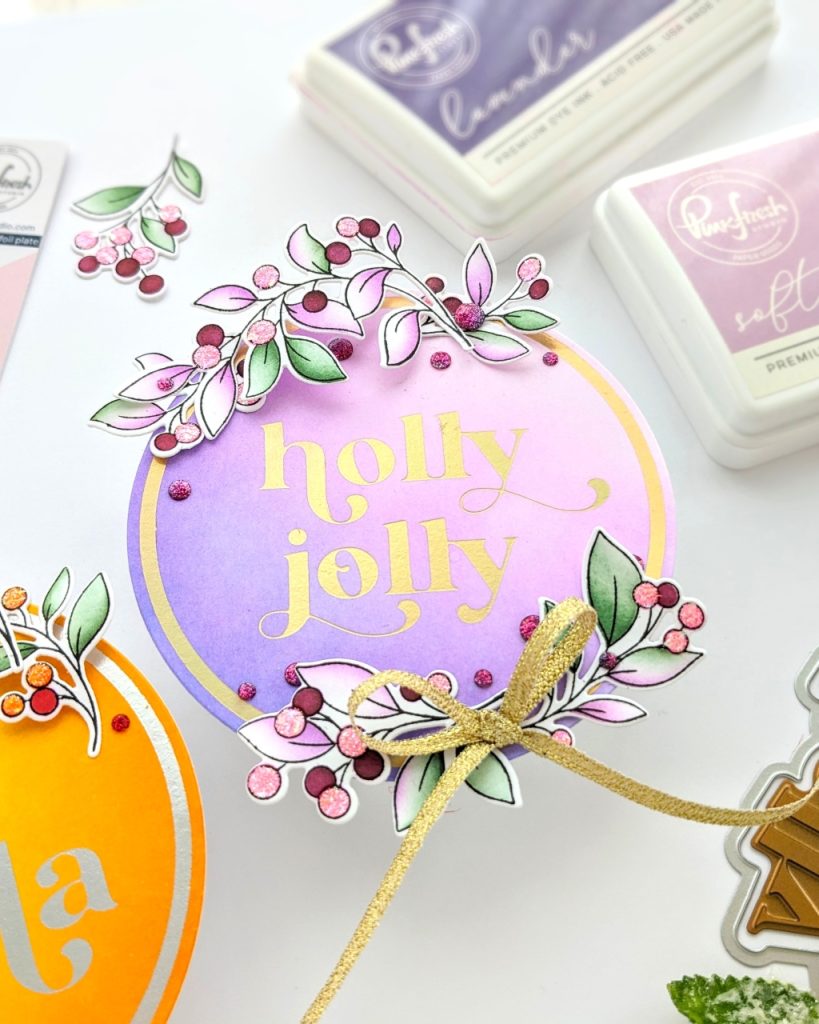
I curled the sprigs and glued them down. For the sprigs at the bottom of the circle, you can double them up with additional die cuts glued to them so they stay strong when the circle stands on a shelf or tabletop. I used Ruby Glitter Drops for the yellow card and Twilight Ombre Glitter Drops for the purple card, and I was done!
I hope some of these design choices have inspired you to make something new today. Thanks so much for stopping by!
-Anne
OH, my goodness! I love the purple! BOTH are stunning, Anne!
=]
Oh, Hi Michele! Thank you!