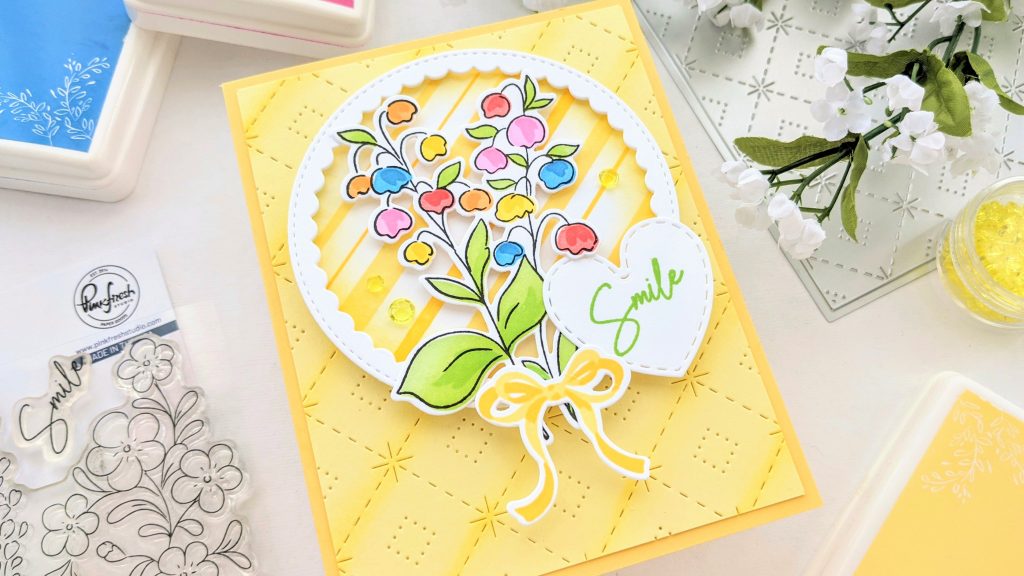
Hi folks! I’m up on the Pinkfresh Studio blog today with a fun, colorful and Spring-y card and tag set. I used a couple of newly released items: Sparkling Diamonds cover plate die and Beautiful Blooms stamp, layering stencils and dies, as well as a few previously released favorites.
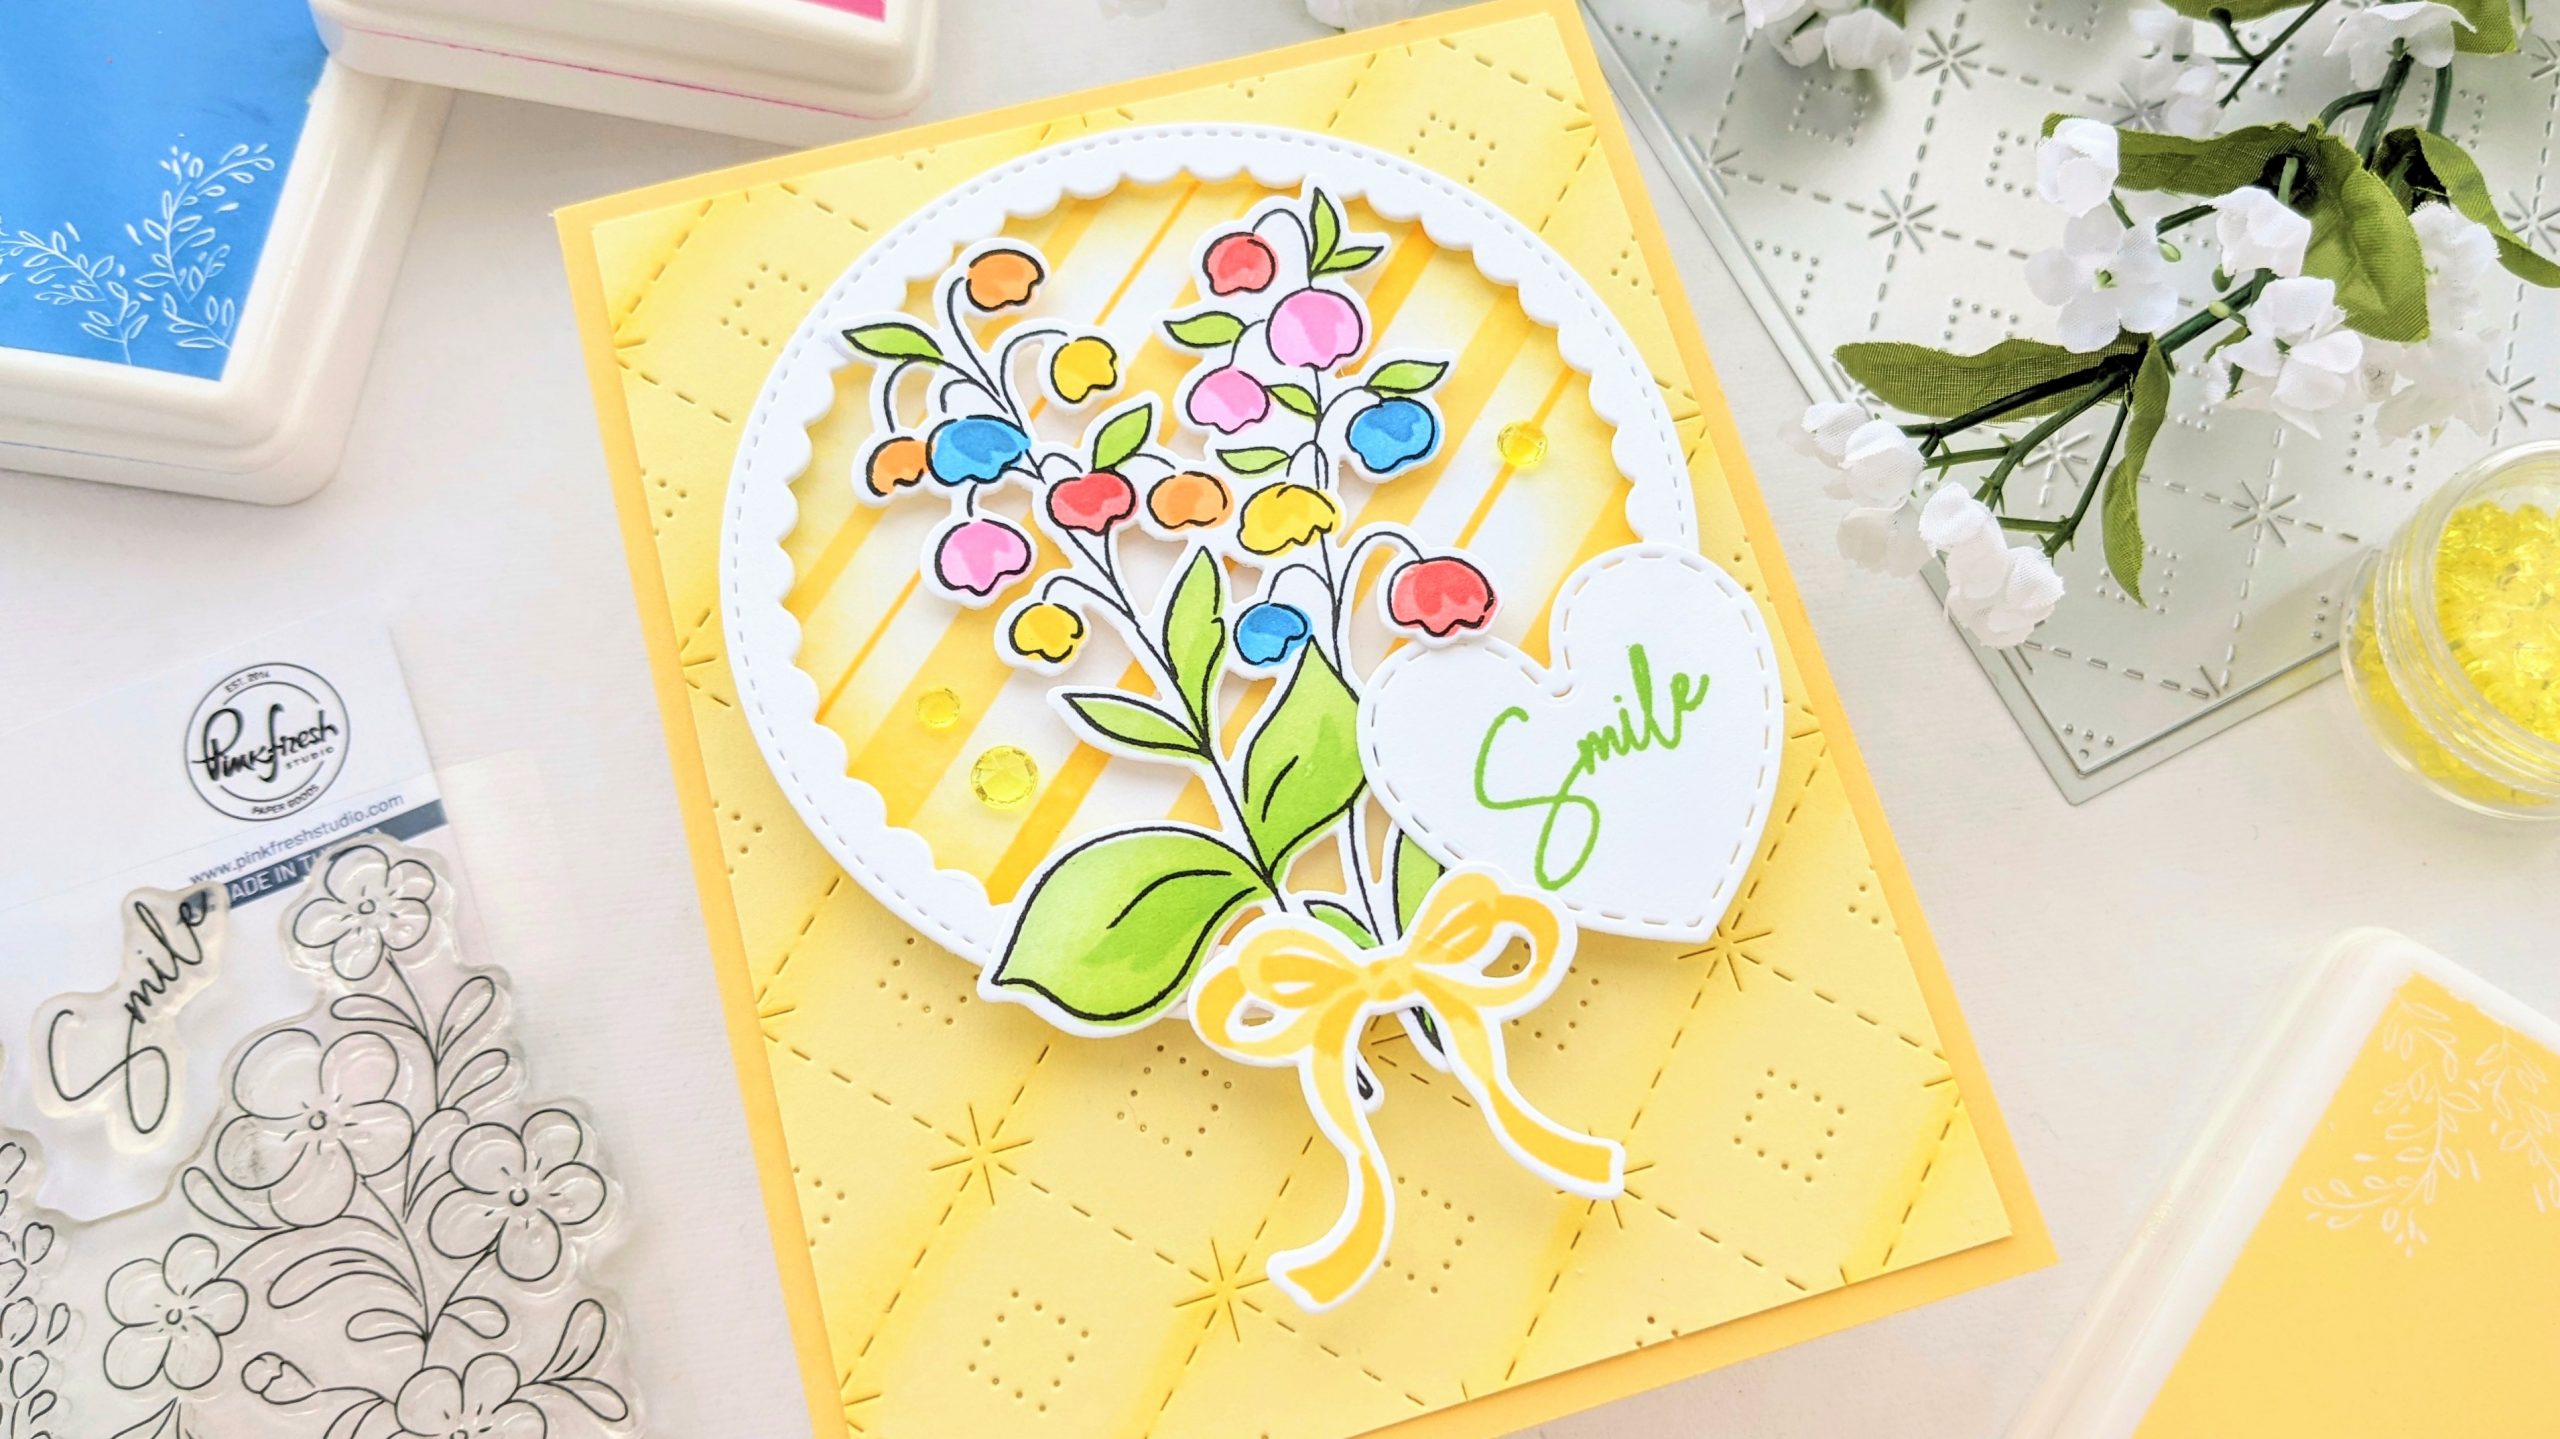
Did you know that there was such a thing as rainbow lily of the valley? I didn’t! As soon as I saw the new Beautiful Blooms stamp set I knew I wanted to make a card with tiny, snowdrop white, lily of the valley blooms. But then I used Google images and saw some photos of the flower in rainbow colors. I had to pivot with my plan and pull out a bunch of Pinkfresh inks to color away the morning.
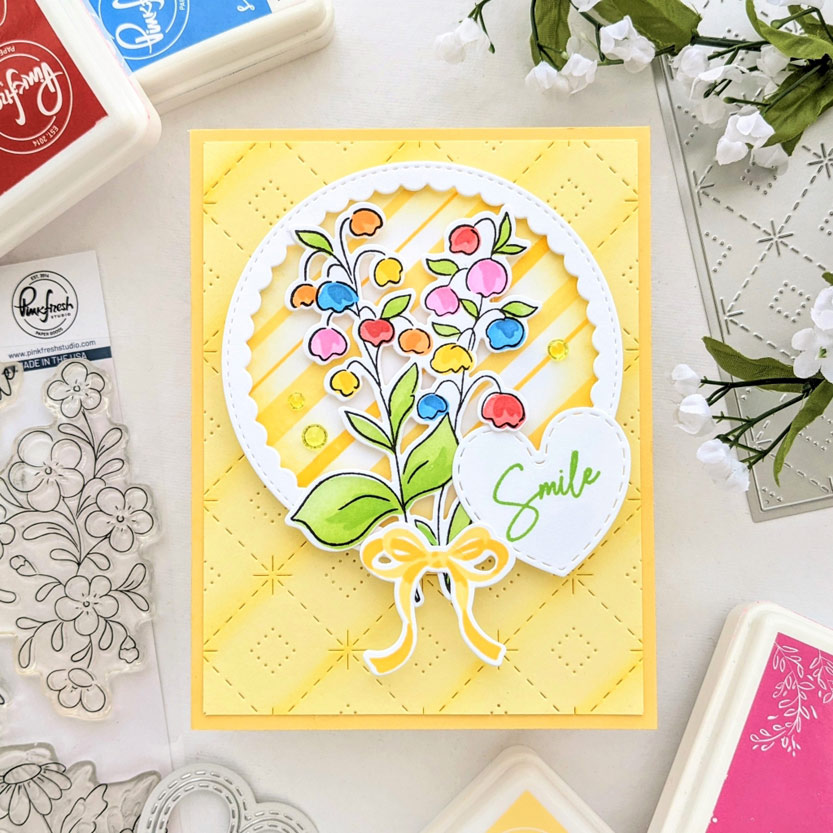
I started by using the layering stencil set for Beautiful Blooms on some white cardstock. Then I used the accompanying die to cut out all of the different flower images and set them aside. Next I pulled out a few different shades of yellow cardstock, because I was unsure of which one I wanted to use, and ran them through my die cutting machine with the Sparkling Diamonds cover plate. I ended up going with the lightest yellow colored cardstock that I have (from Simon Says Stamp) and used a small brush to lightly apply some Lemon Whip ink along some of the stitched lines in the design. I trimmed a bit off all four sides so that I could have a darker yellow border with the base piece.
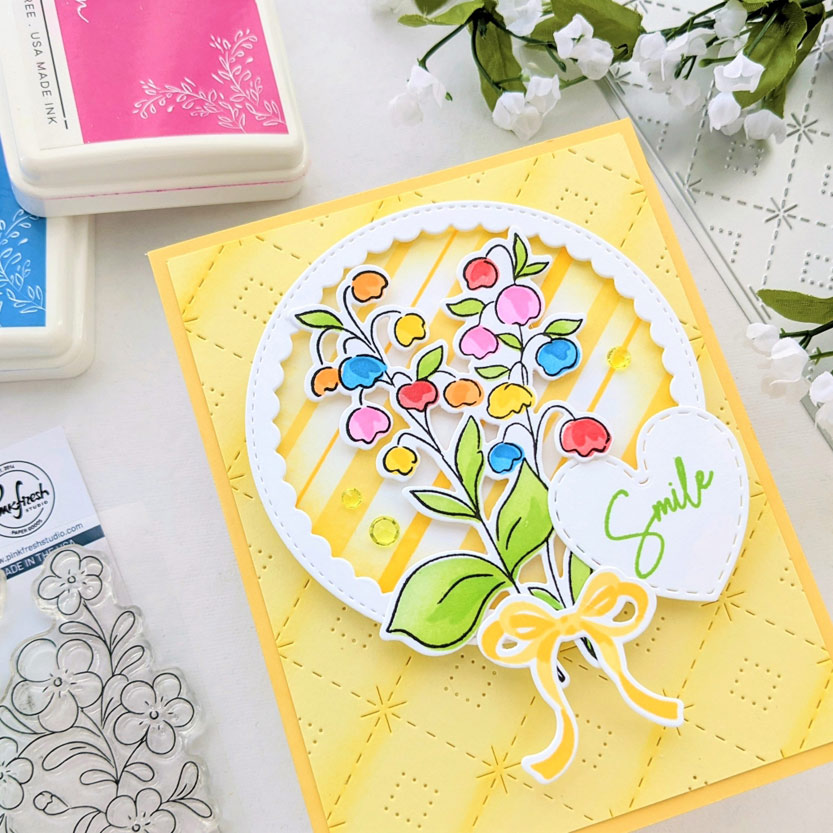
I thought it might be fun to add some (sunshine) stripes of various widths on the circle behind the flowers and pulled out Pinkfresh’s Color Block: Gradiating stripes pop-out cling stamp and a couple of different yellow inks. I popped that up on fun foam and added a pretty scallop border in white, using the Stitched Scallop Circle die set, around the focal piece. The die cut, colorful lily of the valley bouquet was popped up with foam tape. The yellow bow was made with the new Floral Envelope stencil and die sets and I used the smaller of the two Shaker Hearts for the “Smile” sentiment. Which is included in the Beautiful Blooms stamp set. I added a few yellow crystals and was done.
These brightly colored tiny blooms would have really jumped out from a white background but I was feeling a draw towards sunshine yellow on this day so I went with it.
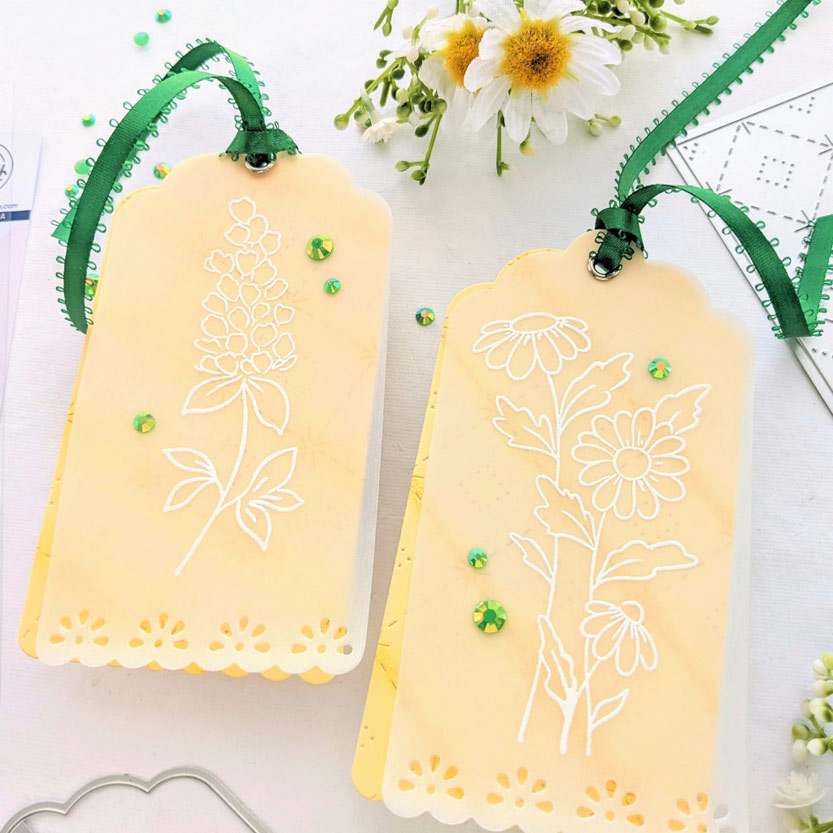
For the tags, I knew if I put the extra two yellow die cut pieces, leftover from making the card, in a drawer, chances were I was never going to use them. So I decided to cut them into tags using Pinkfresh’s, so-pretty-and-I-use-them-ALL-the-time, Classic Tags die set. I heat embossed 2 of the 6 different flower images in the Beautiful Blooms stamp set onto vellum and die cut them out to layer over the yellow tags. I added some pretty dark green jewels and ribbon and was done, so quick and easy!
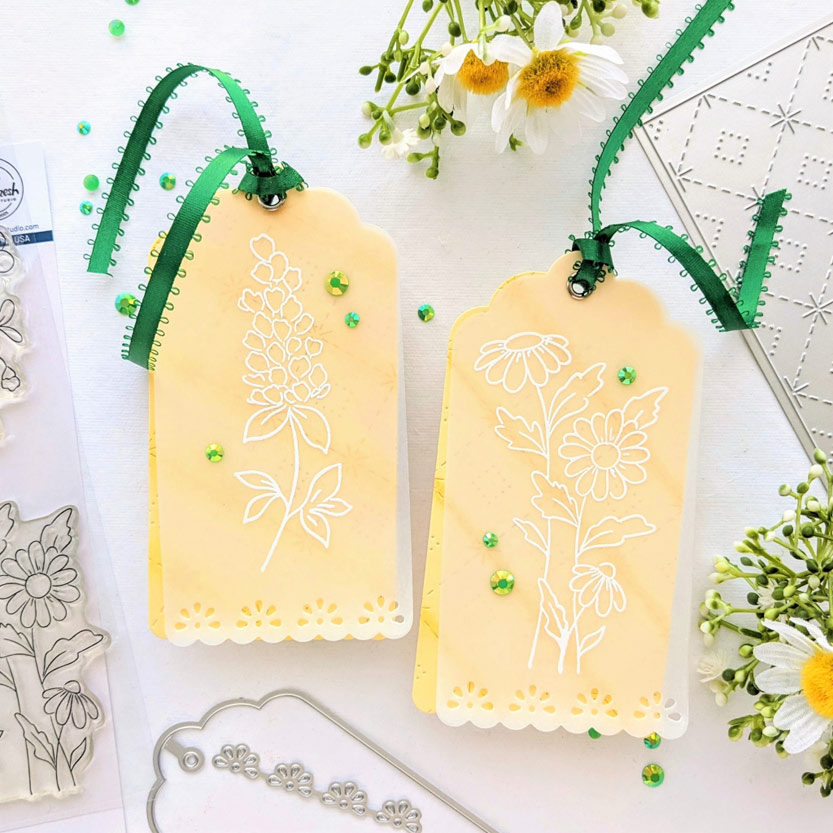
Now they’re ready to go, either on a gift or with a sentiment and onto a cardbase.
I hope some of these design choices have inspired you to make something new today. Thank you so much for coming by!

I absolutely adore the tags! You have inspired me to practice making beautiful tags!
Oh yay! For some odd reason, I love to make tags so much, I find them quite charming. And then I have to figure out what to do with them all! (I use quite a lot of them for emergency cards, just attach them to a cardbase and you’re good to go!) Thanks for stopping by Michelle!
Girl…….what did I say about your next project being phenomenal? Wow, this is so gorgeous and happy. It’s a beautiful yellow! What? You love tags? I love tags! Awww, group hug. ??? You’re a rock star. You need to believe that. You need to own it, B.M.J.
Hey Mari! You are just… the best. Thank you so much lady!! -B.M.J.