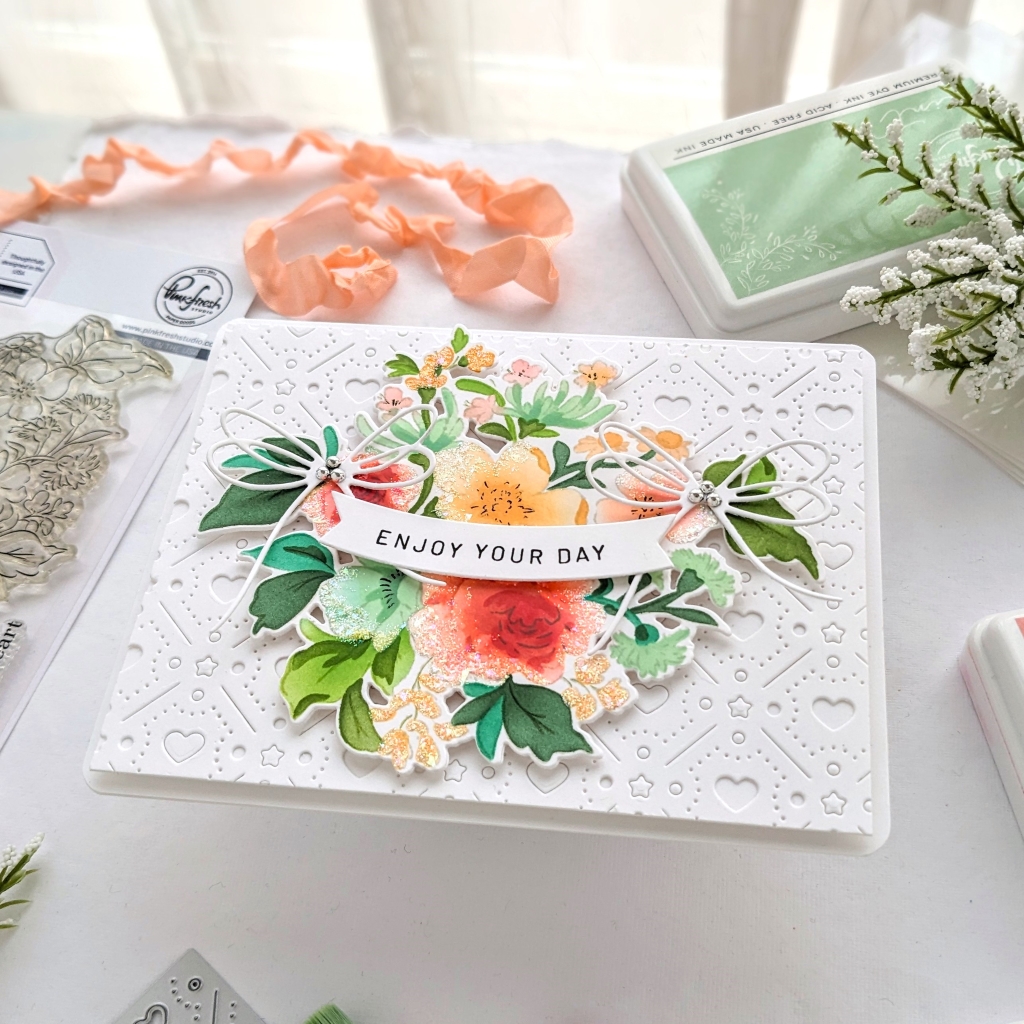
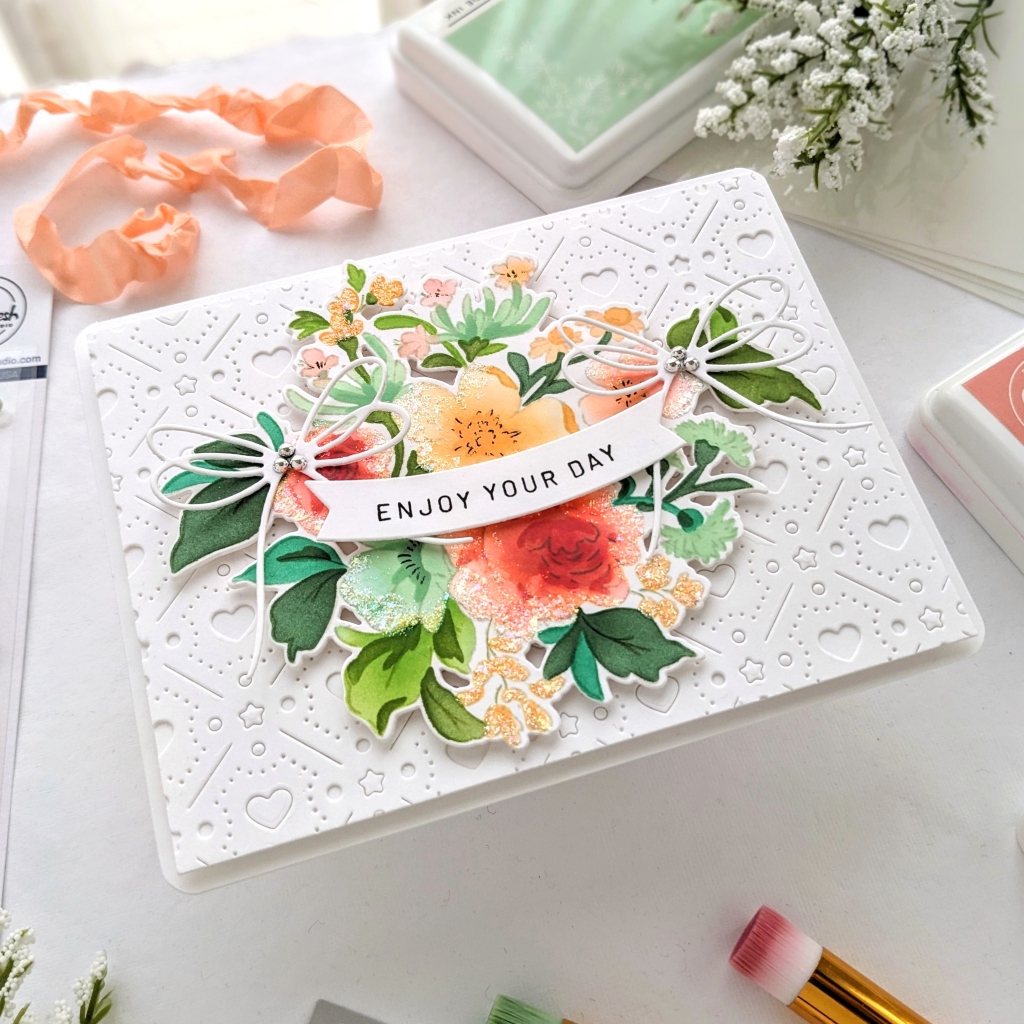
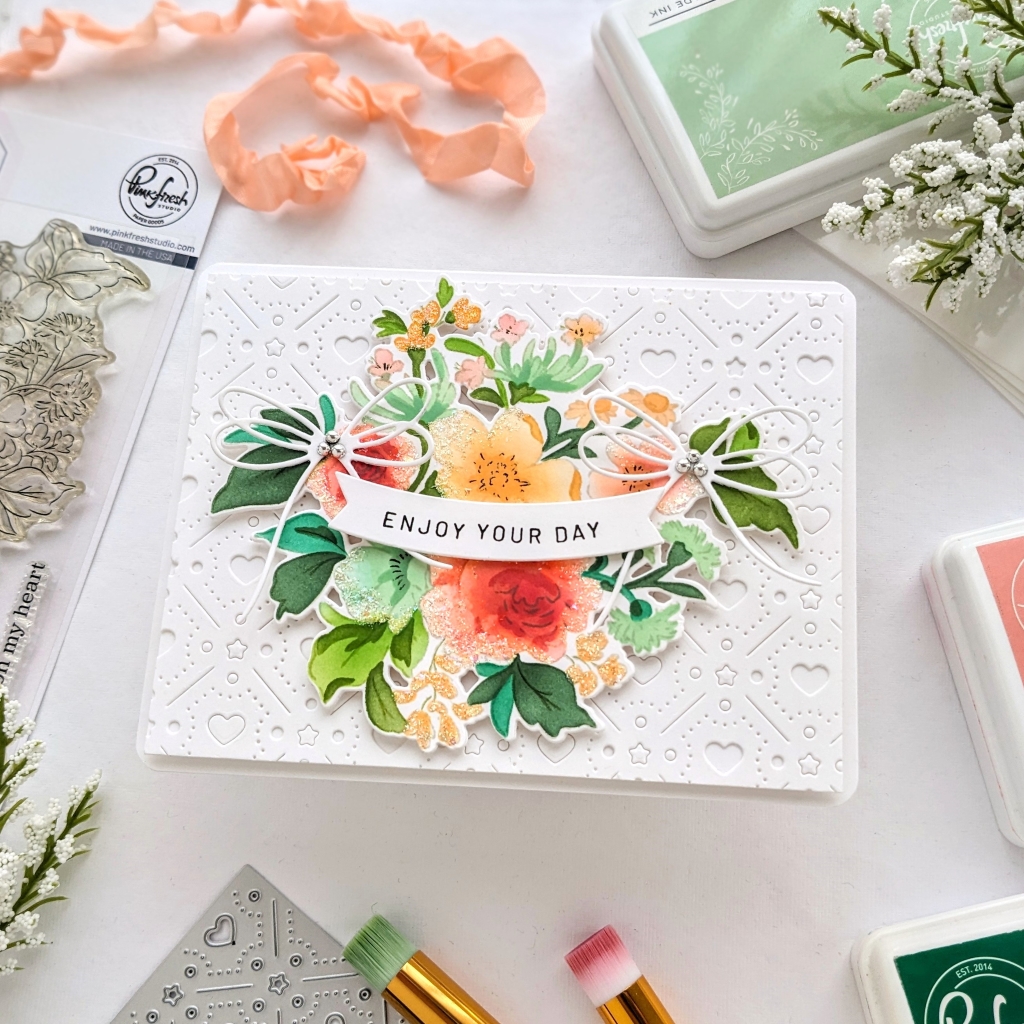
Hi, my friends! Today I’ve got a card made with Pinkfresh Studio’s Handpicked Flowers! I wanted to work with this design because I immediately saw those leaves curving away from either end of the bunch as ideally placed for bows with a banner sentiment. How sweet is that! I saw it as a wedding bouquet, but it could be a “for any reason you like” bouquet!
I put my panel of Neenah 110 lb. in the MISTI and stamped the image with Misty Coast. Then I used all of the stencils, there are 6, to color in my image. But I was choosy about adding color with the detail layer. Some flowers got color detail, and some did not; Once the glitter gel is added, it’s harder to see the detail anyway.
*Pinkfresh inks used for the flowers: Peach Fuzz & Apricot, Mint & Meadow, Ballet Slipper & Sparkling Rose and Coral Reef, Passion Fruit, Berrylicious & Candy Apple
*Ink colors for the leaves: Emerald City & Evergreen and Grassy Knoll, Key Lime & Olive
After everything was colored in, I put it back into the stamping platform, where I left the stamp, and added Detail Black just to the center of the flowers. I used a Q-tip to apply the ink to the stamp; easy-peasy! I pulled out a colored pencil or two to go over some of the leaf detail. Then I die cut it out but left it in the panel I cut it from to hold it in place while I applied some Stickles glitter gel to the flower petals. I used a couple of stencils for that process and had to wait for one to dry before using the next.
While that was drying, I made a backing panel for it using Pinkfresh’s Hearts and Stars coverplate die. The die orientates portrait style (vertically), but I needed a landscape-oriented panel cut out; luckily, the cover plate does not have a border, so you can keep lining it up as much as you like to make it look continuous. I glued that down to a lightweight panel and trimmed it down a bit. I like that some of the hearts and stars fell out while some remained; I think it adds even more whimsy.
I rounded the corners of my A2-sized cardbase before popping my die-cut panel up with fun foam. Then I used foam tape to pop up the glimmery bouquet. I used the Sweet Day stamp set to stamp out the sentiment “Enjoy Your Day” and tried to curve it a bit to fit the banner die that I used; Basic Banners. I used the Wrap around elements die set for those sweet double bows and added a few small, shiny silver Metallic Pearls.
I hope that this project has inspired you to make something new today! Thanks so much for coming by!
I hope you’ve been inspired to make something new today! Thanks so much for coming by!
-Anne
p.s. Here is a link to Pinterest, where I found my color inspiration!