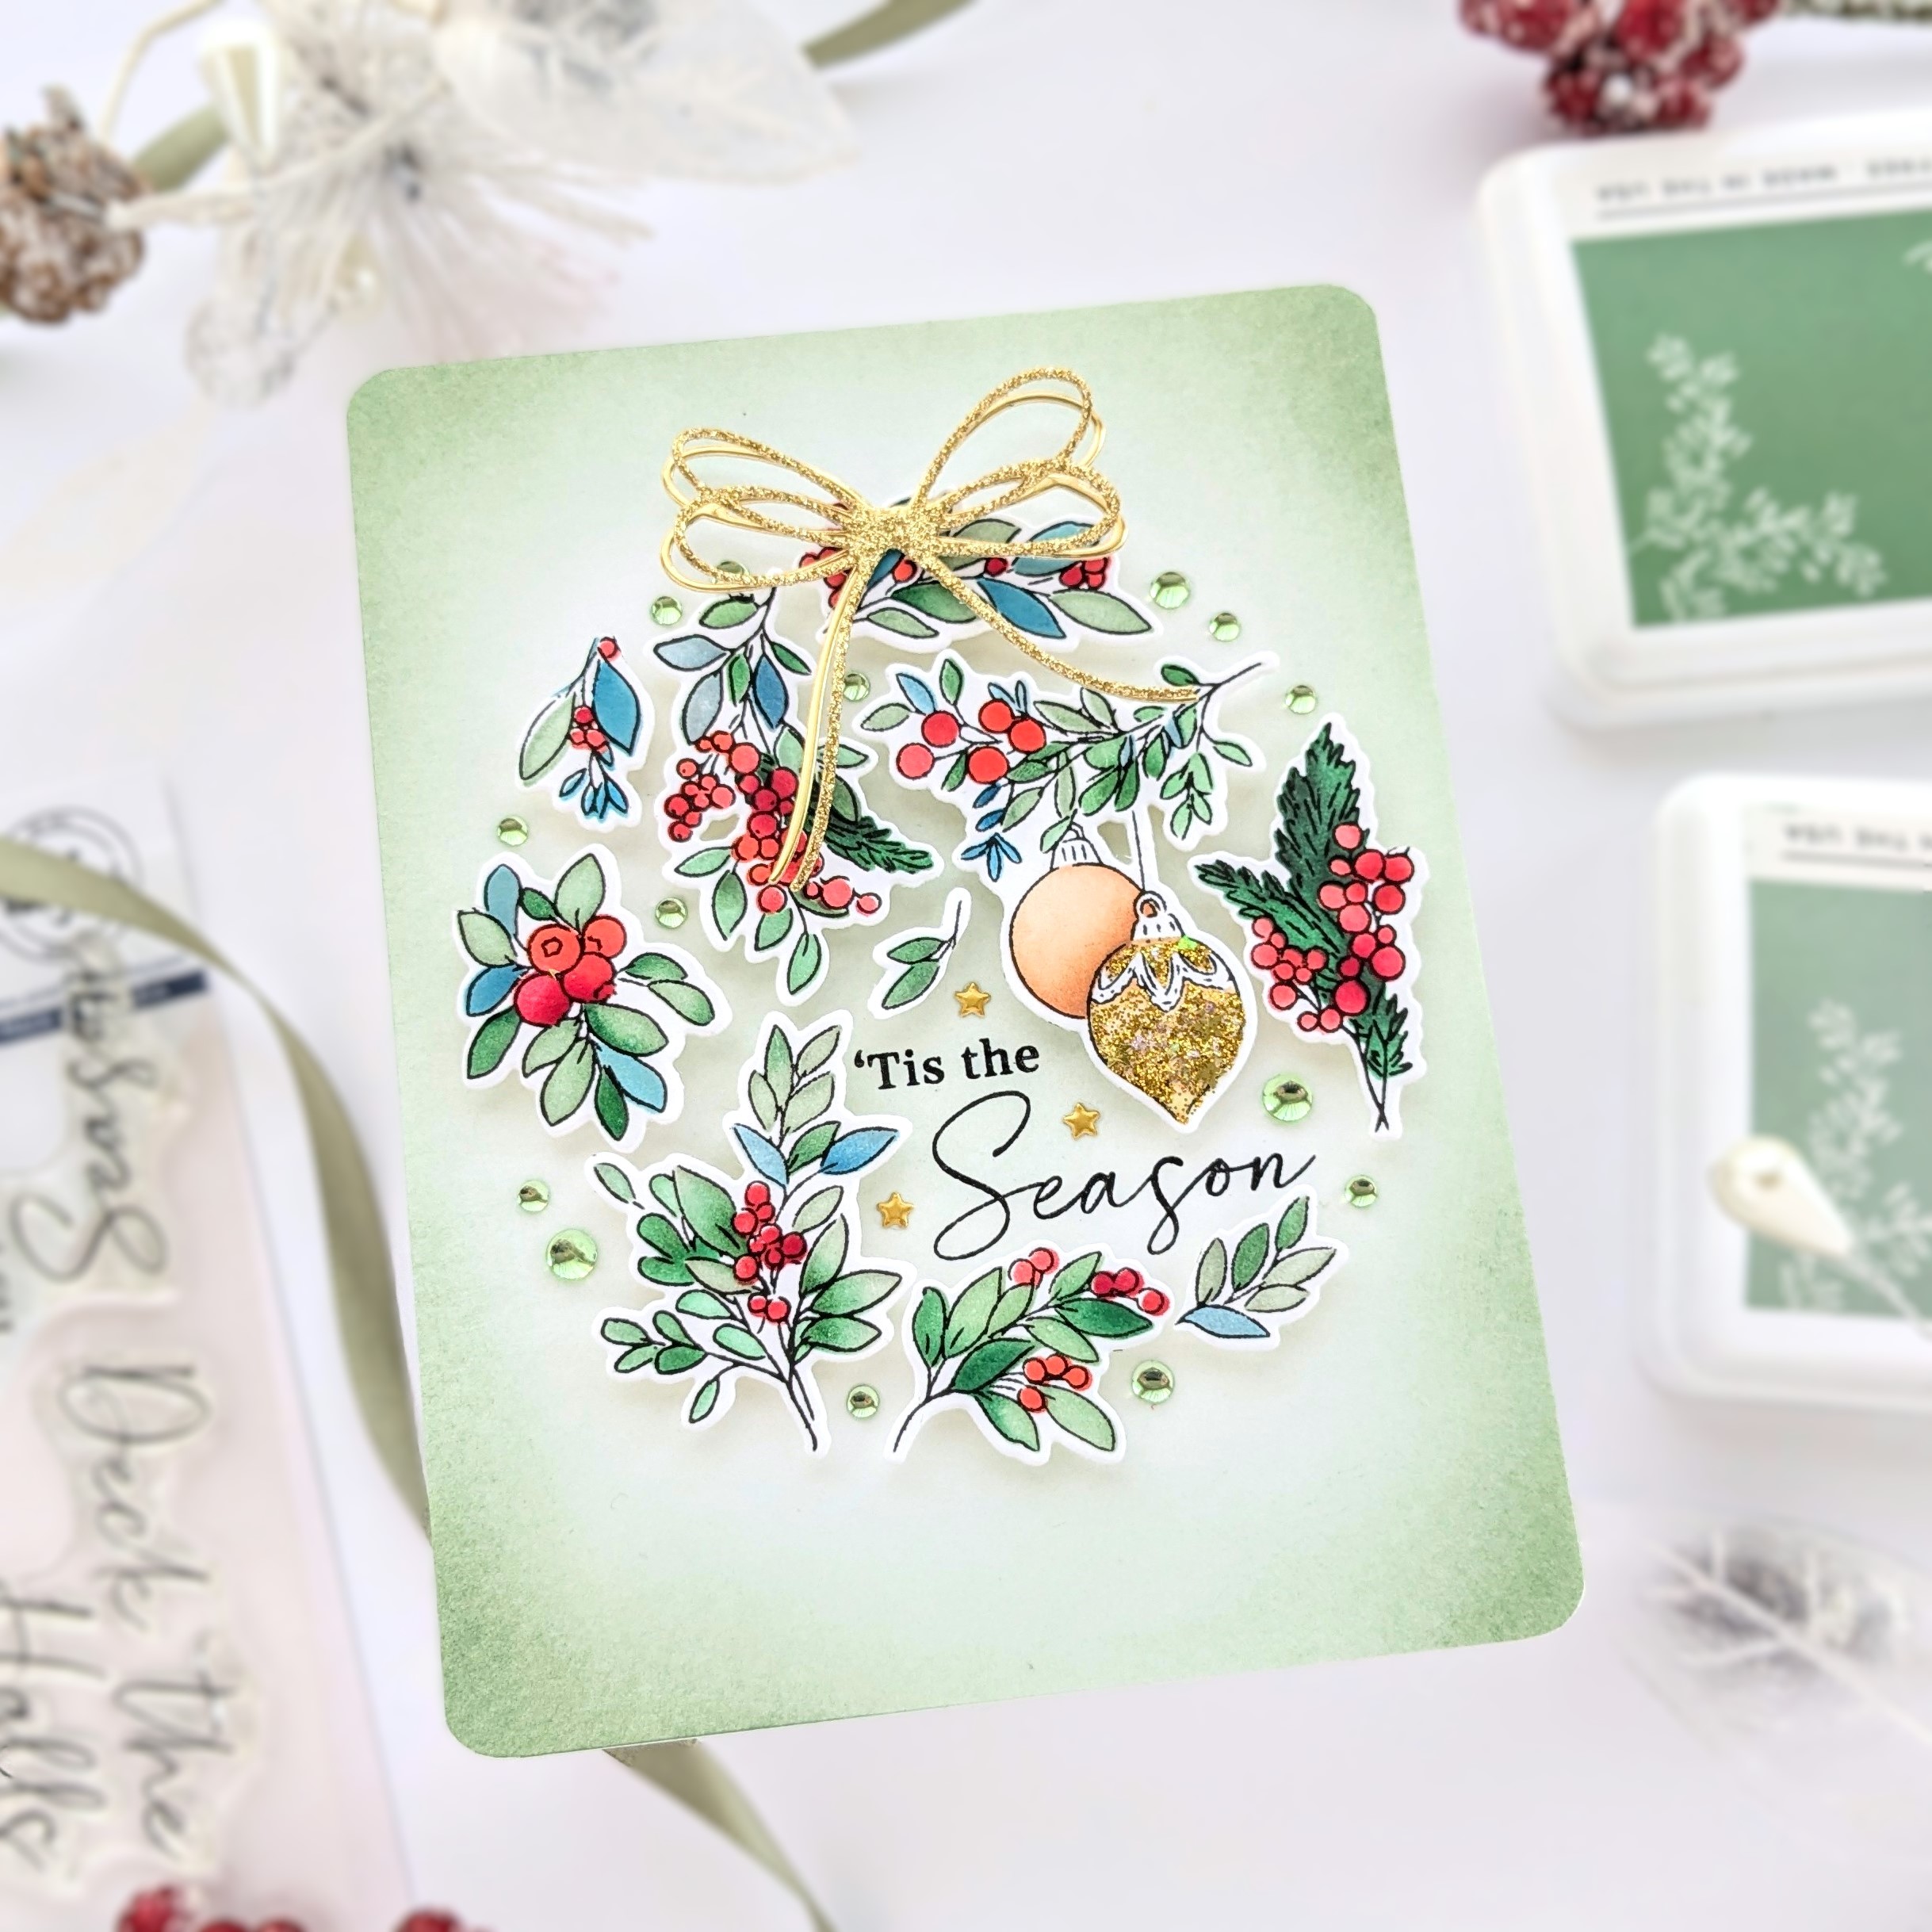
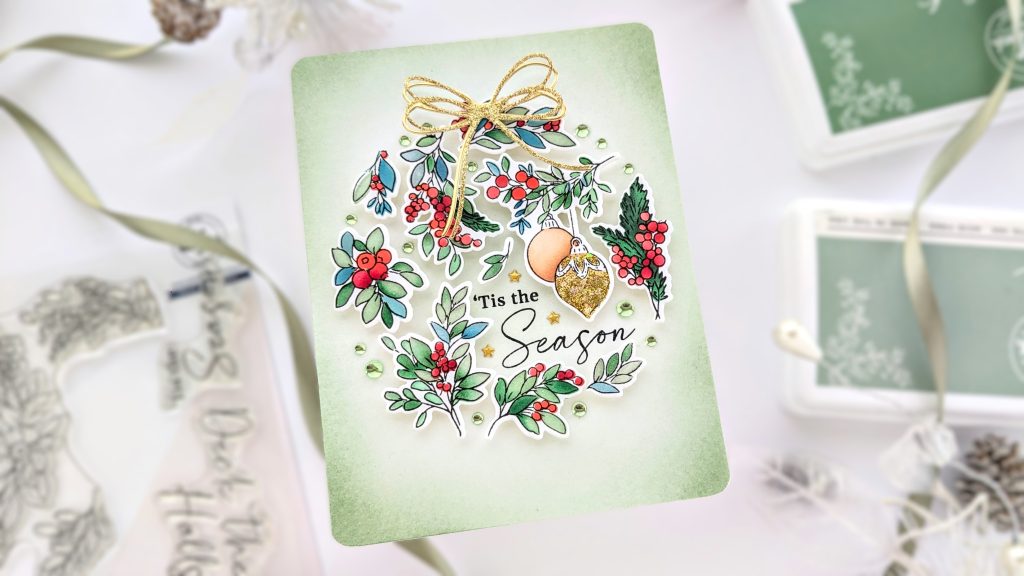
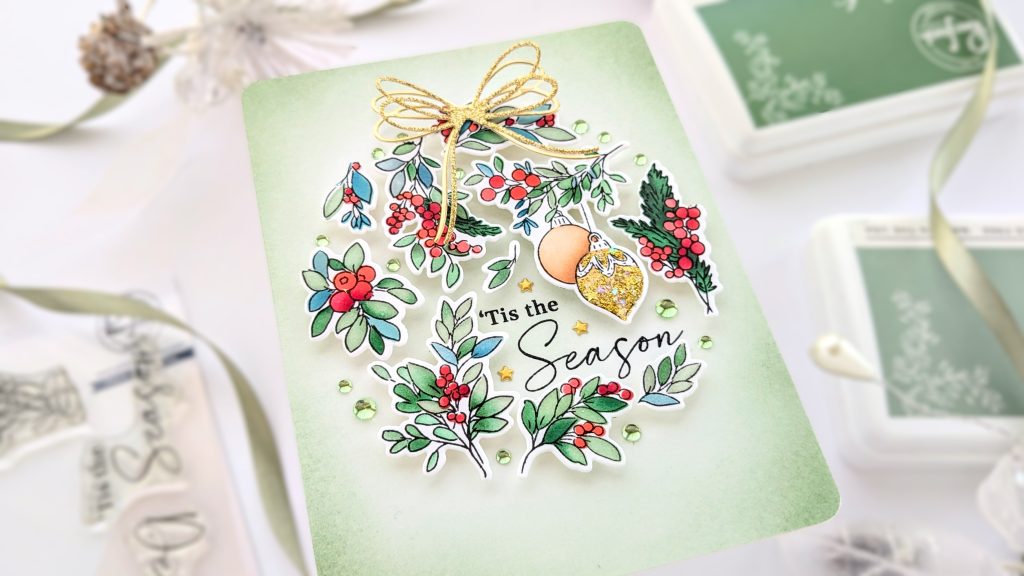
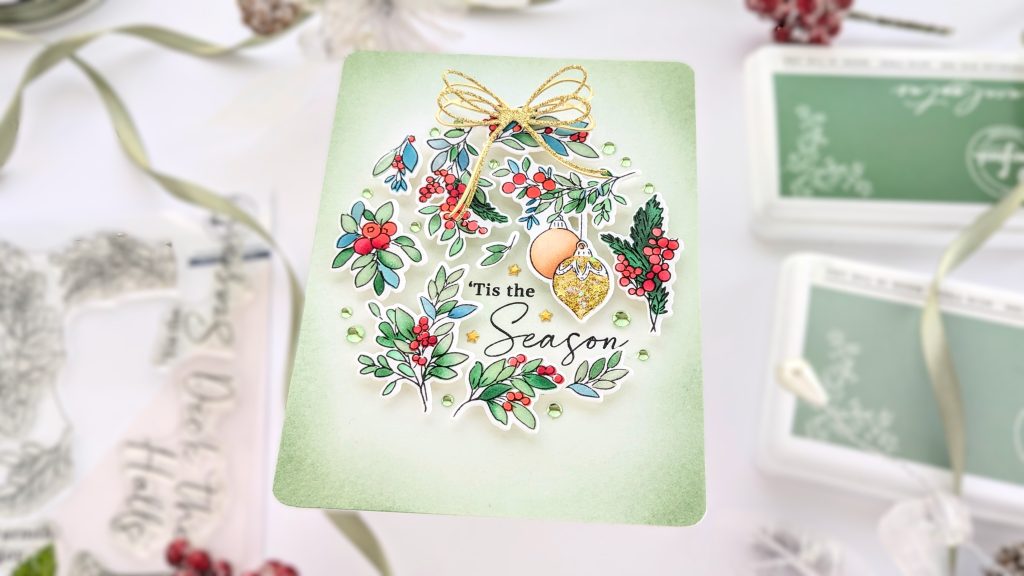
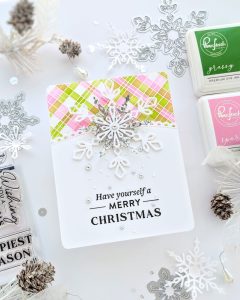
Hi everyone! For my project today, I used Pinkfresh Studio’s new Deck the Halls stamp, stencil set, and die. With all its leaves and berries (and a pretty wreath!), the illustration was so much fun to color and perfect for all kinds of seasonal cards. There is also a beautifully water-colored washi tape available.
The simple design of today’s card allows the dimensionality of the colored and arranged die-cut pieces to really pop.
I started by stamping the image of the leafy branches onto two separate panels of white cardstock with light gray ink because I wasn’t sure how many pieces I would need for my card. Then, I used the 6-stencil set to color the branches.
I wanted the greens to be varied and wintery-looking, so I started with Sage and Spruce Tips from the Green Gables collection for stencil #1. For stencil #2, I used Paradise and Atlantis, from the Amalfi Coast collection, very lightly, with a lot of ink dabbed off to get that shade of blue but not the intensity and saturation that a lot of ink brings. Then I brushed Rocky Slope over the blues to further gray them. With stencil #3, I used Emerald City and Evergreen from the Garden Stroll collection. And with stencil #4, I used Spruce Tips and Lush Forest.
Stencil #5 was the berries, and I used different shades of red. I used my favorite combo of Warm Buff and Doe with Apricot for the ornaments for a non-metallic gold look.
I colored both panels the same way and then put them back into the stamping platform to use Detail Black over the branches. Then, I decided to apply gold glitter gel over a few of the ornaments for some holiday sparkle. I die-cut them out and set them aside.
I used Sage and Eucalyptus on an A2-sized cardbase for the backing panel. I shaded in the border and the center of the card, trying to leave some white space.
Then, I laid a large circle die down over the panel and taped it with low-tack tape to help me form a circle with the die-cut pieces. I started arranging my pieces in the circle, beginning with the die for my sentiment, also taped in the place where I thought it might go. It turned out that I needed to fussy cut a few branches to fill the smaller spaces. When I had everything where I wanted it, I removed the circle die and used more low-tack tape to keep everything in place. Then, before adhering everything down, I put the panel into the platform to stamp out the sentiment.
I put two layers of foam tape on each piece, which provided a lot of dimension (and made me happy!). I used clear drops in Leaf and a few gold stars to fill in the spaces and complete the line of the circle. I added a couple of gold bows using a die from the Wrap Around Elements die set and was done with my card!
I hope some of these design choices have inspired you to make something new today! Thanks so much for stopping by!
-Anne
Anne, a friend of mine just gave me a whole bunch of the washi tape cuts from this collection – thanks for showing me how to use them in a different way!
LOve the colors you’ve chosen – and the arrangement is fantastic!
=] M
Hi Michele! 🫡 That’s super sweet of you, thank you! 🩷
This is just beautiful! I love this set and the washi tape! The dimensional ornament is stunning! Sue N
Wonderful! Thanks, Sue! 😊