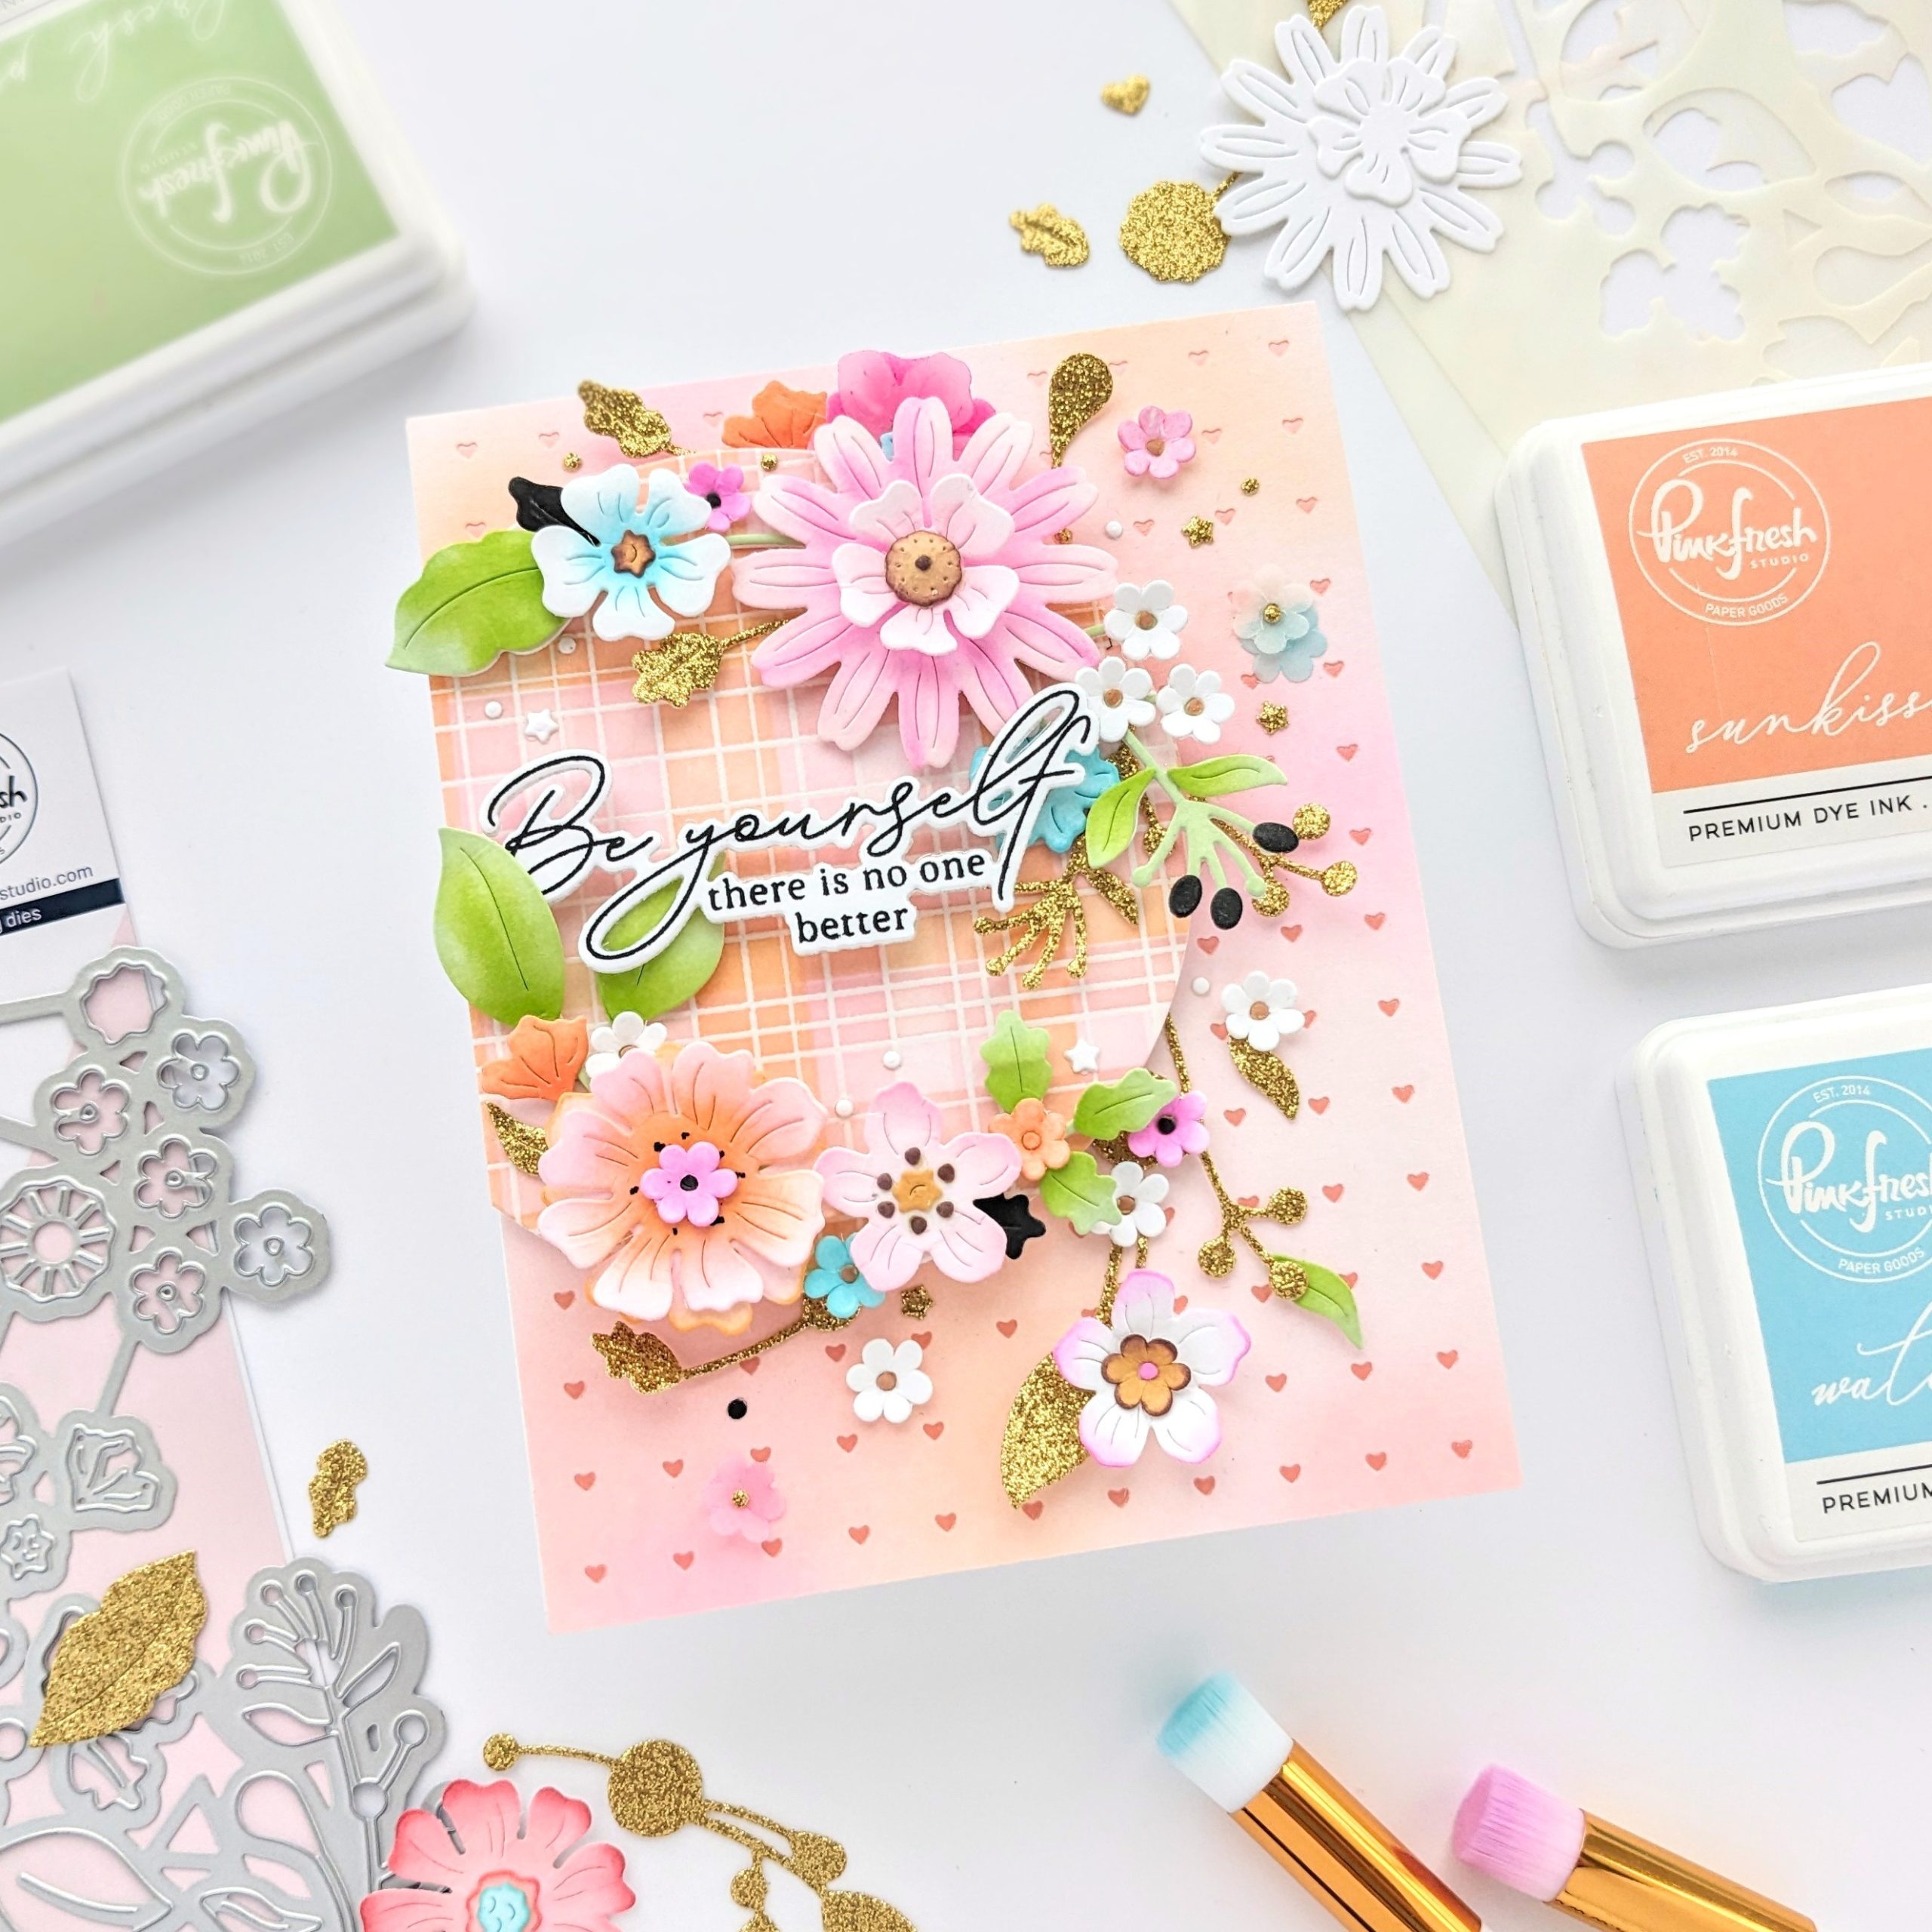
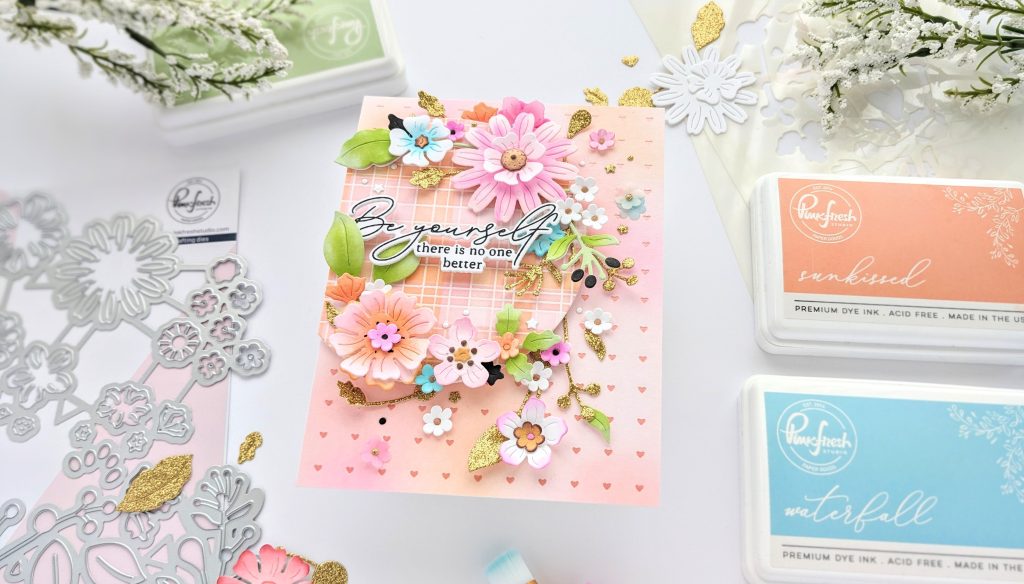
Hi guys! I’m up on the Pinkfresh Studio blog today with a new project! I used the new Stylized Florals for a card loaded with flowers and pink and an encouragement to “Be Yourself”! I wanted this card to look airy, fanciful, and full of “pretty”! I used two patterns on the background but in similar pink and orange tones to connect them. My color palette is primarily pinks and oranges, with spring greens and turquoise and accents of gold and black to complete the look.
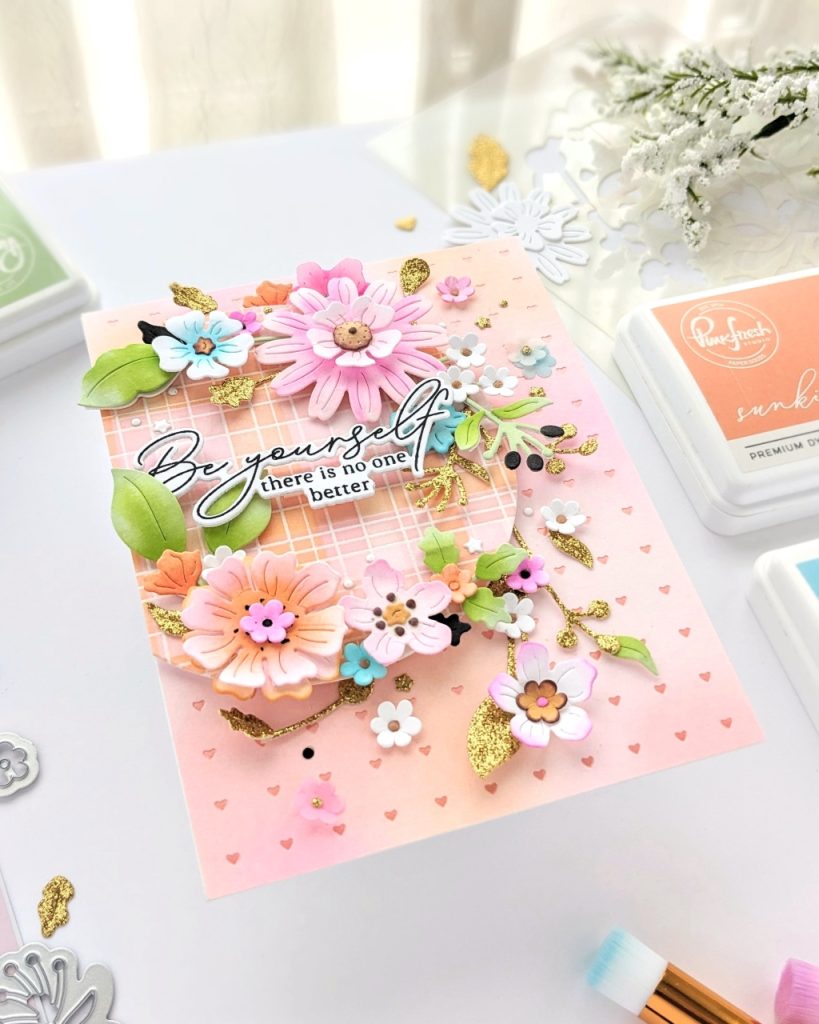
I started with the background circle and cardbase panel, which helped guide my color choices for the flowers. I clear heat embossed with the Dainty Plaid stamp, then colored it in with the Dainty Plaid stencils, in light pinks and oranges. I used the Nested Circles die set to cut out a circle and set it aside.
(It would have looked very cool to use the extra plaid pieces of that die-cut panel to cut flowers out of and back them with a more restrained/simple background… Maybe next time!)
Then, on an ink-blended background (Ballet Slipper, Sparkling Rose, and Sunkissed), I hot foiled with pastel orange foil using the Heart Grid hot foil plate. I put all of my pieces aside and started working on my flowers.
The new Stylized Florals suite consists of just stencil and die sets. It is designed to use the stencil first, then line up the die over it to cut out your flowers. But of course, you can die-cut your flowers, leave them in the panel of paper like a jig, and secure them from behind to ink blend if you prefer. There are convenient triangles worked into both the stencil and die sets to help you line everything up. There are no borders on these die cuts, which expands your choices for backgrounds and color palettes! Not to mention all of the dimension you can get! I’m super excited about these new designs in the Pinkfresh Studio catalog.
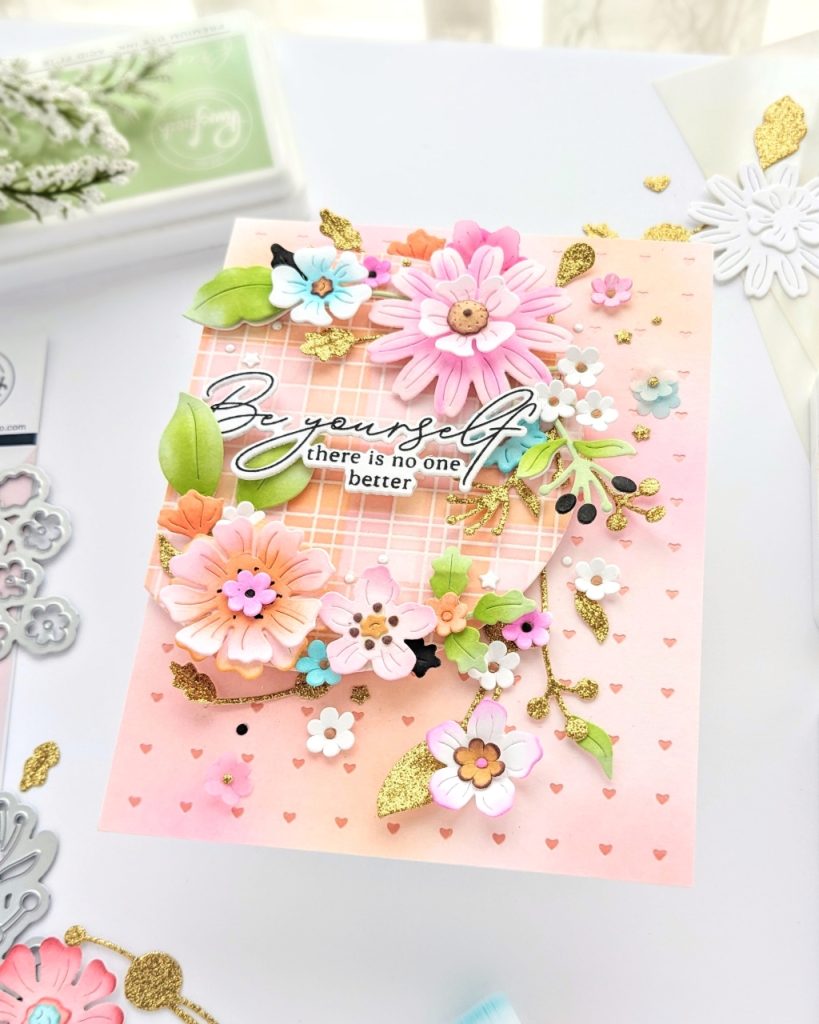
A couple of those little flowers were cut from colored vellum to help with the airy feeling I was going for. And I used the Hearts and Stars coverplate for a few… hearts and stars.
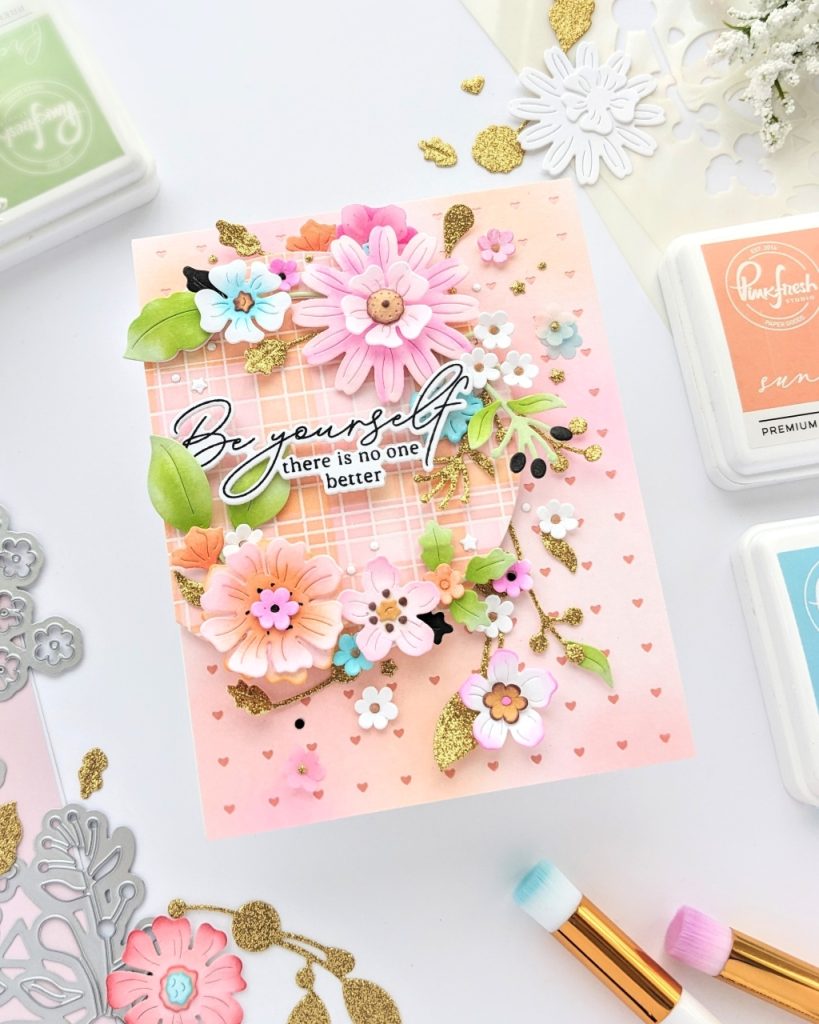
Now, all of the pieces are ready! I adhered the hot foiled panel to the card base, arranged the circle piece where I wanted it, popped it up on fun foam, and then cut off the overhang. I gently curled most of the flower and stem pieces, just so they weren’t flat, using the barrel of a couple of paintbrushes and fun foam for a cushion. I spent a little time moving and arranging the pieces before gluing them down. I did use foam tape with a couple of the flowers; I love the dimension this allows. I used the leaf and stem die to cut pieces from Pinkfresh’s gold glitter cardstock. I added a few pops of black, then the sentiment. I love this encouraging sentiment from the Sending Love stamp and die set: “Be yourself: There is no one better.”
As I said earlier, I sprinkled dots, hearts, and stars here and there in place of bling. With the sentiment added, my card was done! I hope some of these design choices have inspired you to make something new today. Thanks so much for coming by!
-Anne