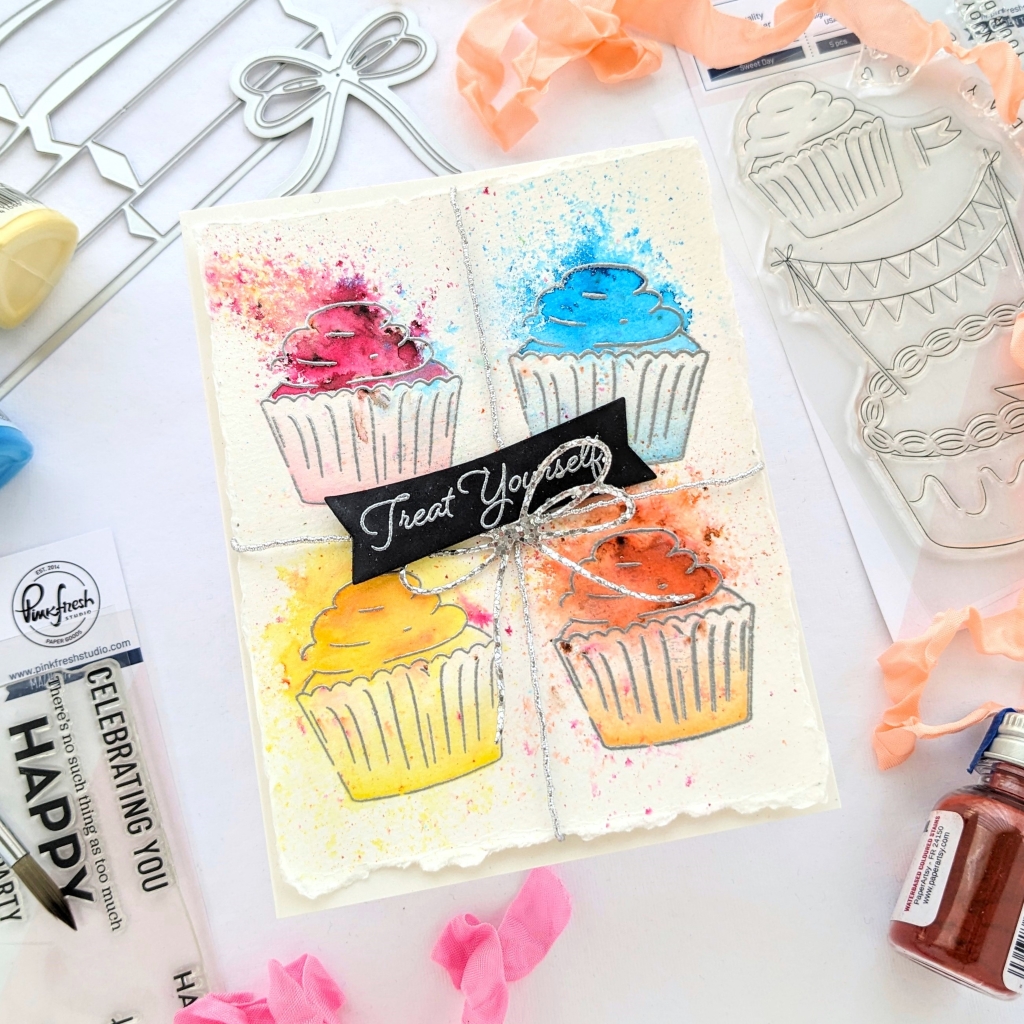
Hi guys! Welcome back! I’ve got a new card up on the Pinkfresh Studio blog today. This simple, whimsical design was fun to make and a bit of a departure for me, but sometimes it’s good to stretch yourself. I used Pinkfresh Studio’s new Sweet Day stamp, stencil set, and some pigment powder for a splash of color. Let’s get into it!
I started with a roughly 5″ X 6 1/2″ panel of watercolor paper and placed it in the MISTI stamping platform with the smoother side up. I began with the Memory MISTI because I knew I would need to move the stamp around to get the cupcake where I wanted it. Eventually, I decided I didn’t like how much room it took up on my craft table and switched to the regular-sized MISTI, which worked out fine.
I had lightly marked the center of the panel, knowing my sentiment would go in the middle and hide it, so I had an easier time placing the cupcake stamp in a foursquare pattern. I used magnets and tape to hold the panel in place in the stamping platform. And because I was stamping on watercolor paper, which is a fairly porous surface, I had to stamp with embossing ink several times to ensure I had a good impression.
When inking up the cupcake, because the cupcake is joined on one stamp with a larger cake image, I made sure to mask off the cake (take the masking tape off before you stamp down! I’ve forgotten to do that many times. Ugh.) I also used static powder on the panel, but because this was a “whimsical” design, if there were extra bits of silver embossing here and there, it would only add to the look of the card. I used silver embossing powder and would stamp, heat, and repeat these steps for each cupcake.
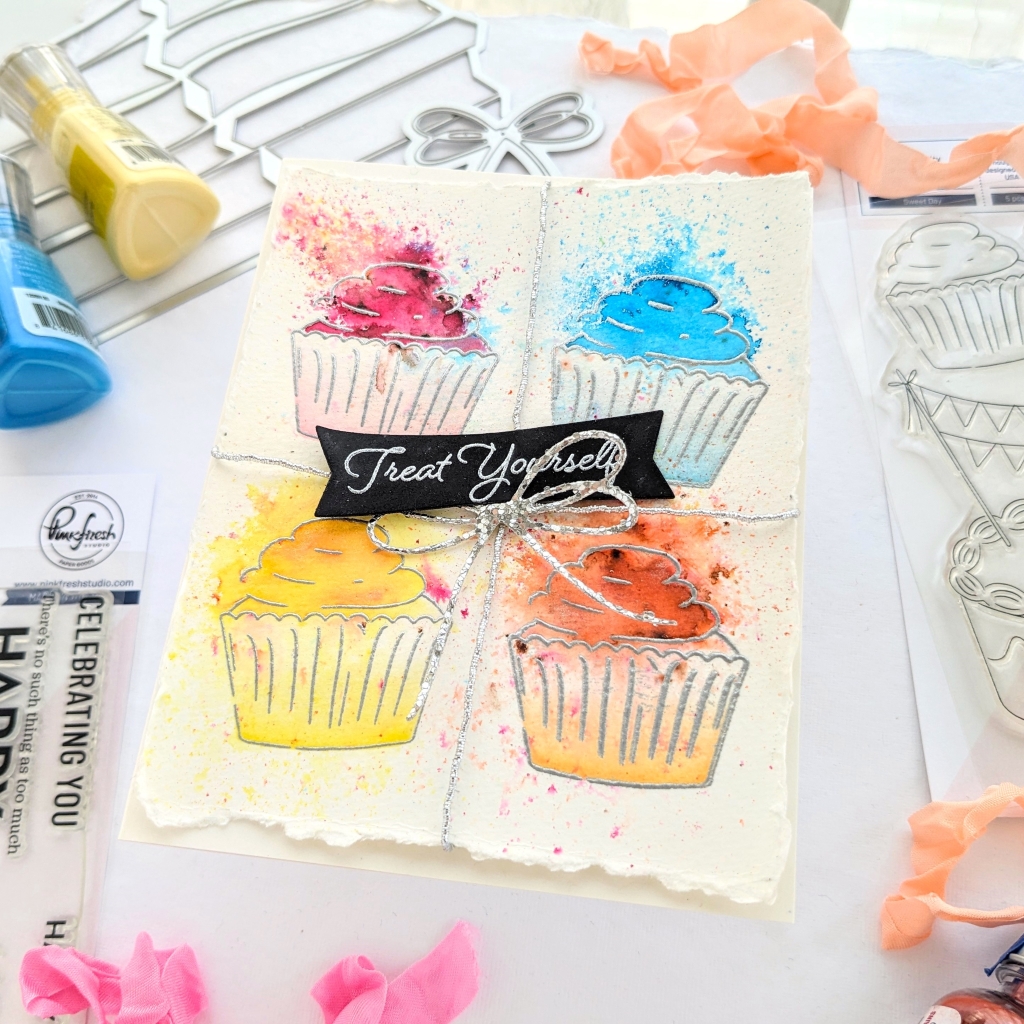
After the embossing, I taped the panel to a hardboard and pulled out some pigment powders. I used a couple of brands, Nuvo Shimmer Powder and Paper Artsy’s Infusions colored stain. I slowly tipped the bottle over the frosting part of the cupcake and gently tapped on the bottom of the bottle; a little goes a long way. Then I just spritzed water on the powder and let the color splash. If you’re new to this medium, like always, I suggest you practice on some scrap paper before using it on a project.
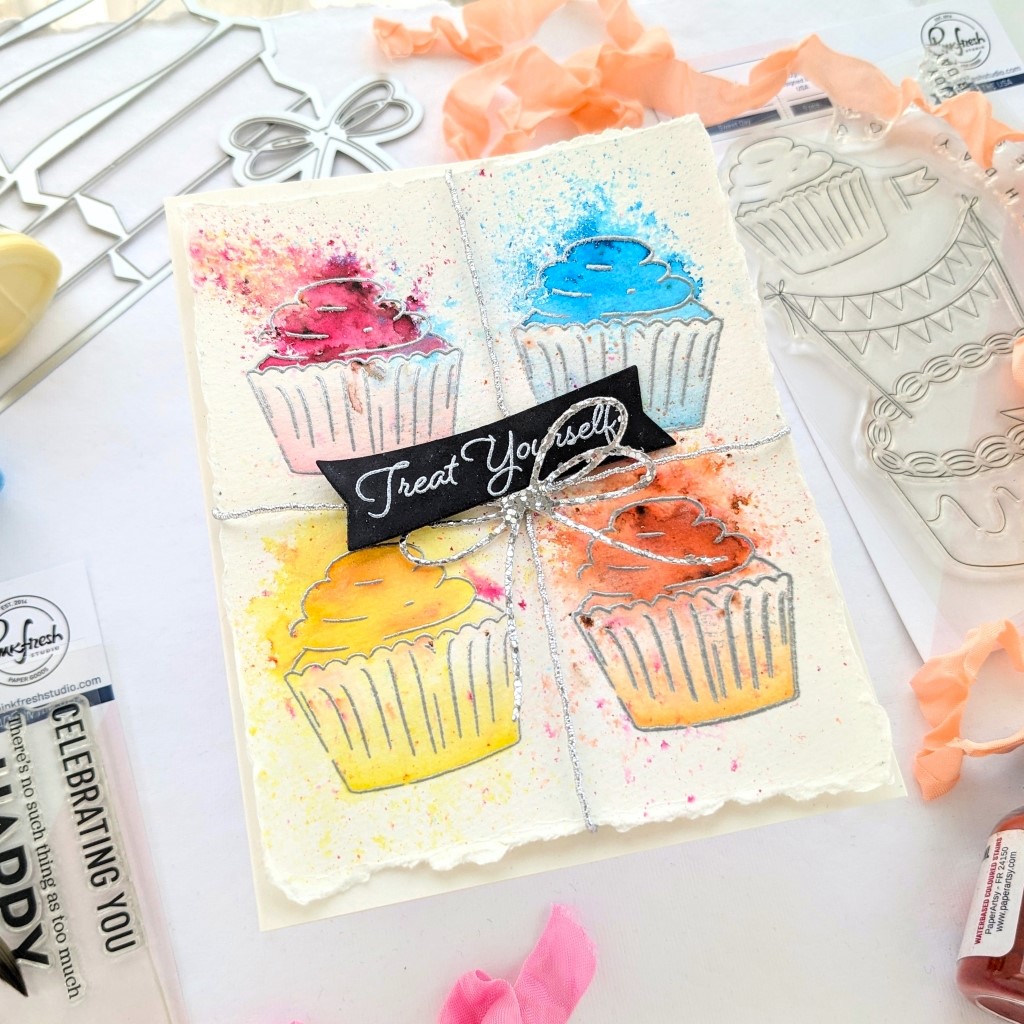
When they were dry, I used the Sweet Day stencil to color the cupcake liner. Then I tore strips off all four sides of my panel (a ruler held on its side along the card edge while you pull the strip against it helps keep it straight.) I tied a silver string around the topping panel and popped it up on an ivory-colored cardbase with foam tape. I used the new Wrap around elements die set and specialty paper for a sparkly bow that matched the string.
The new Basic Banners: Celebrate stamp and die sets provided the perfect sentiment, and I was done with my artsy card!
I hope some of my design choices have inspired you to make something new today! Thanks so much for stopping by!
-Anne