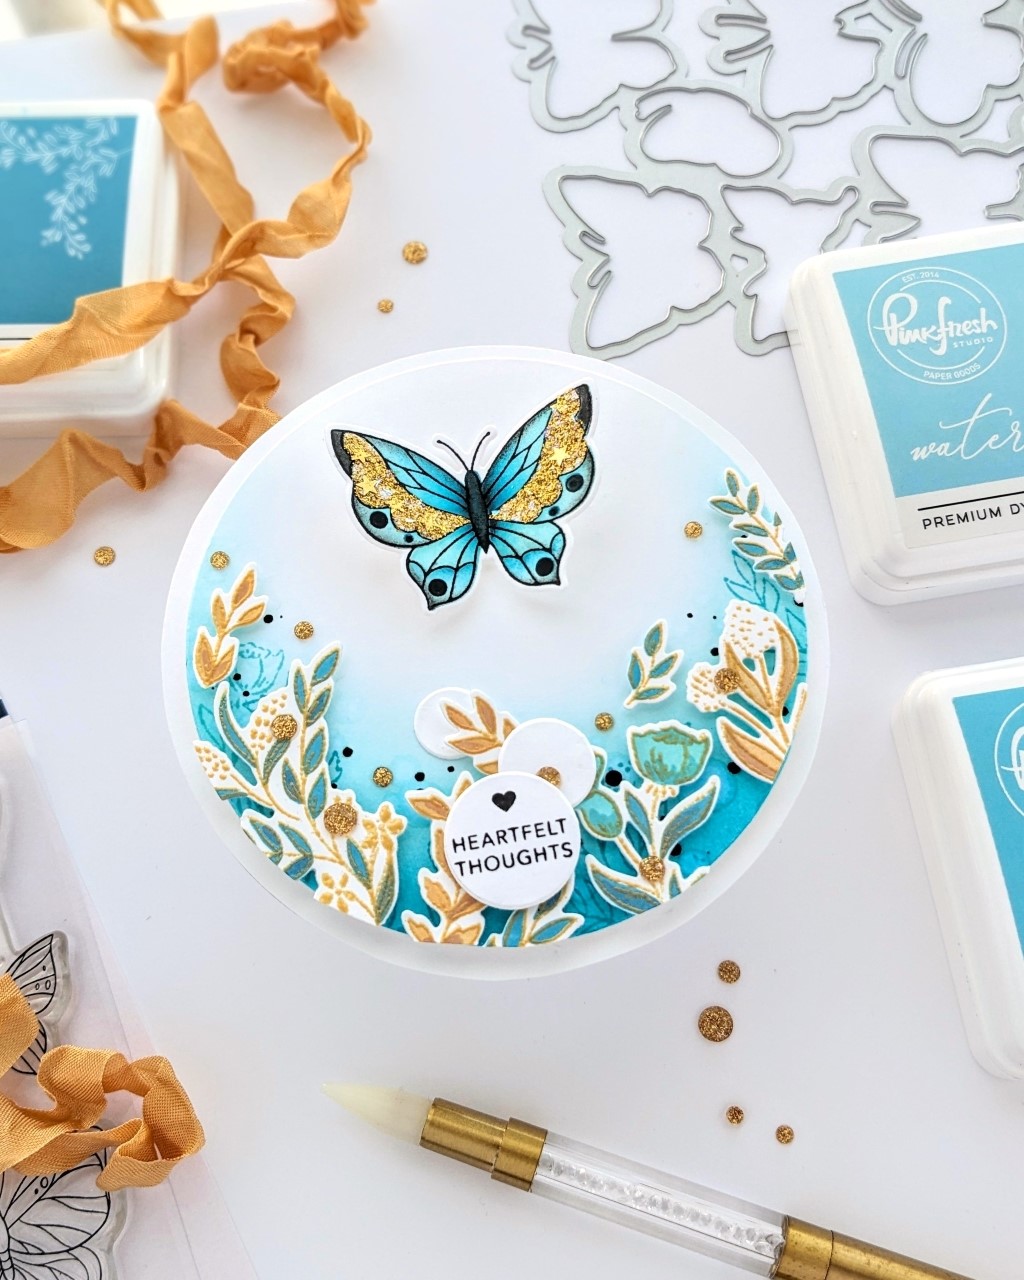
Hello, and welcome back! I’m on the Pinkfresh blog today with a lovely turquoise and gold circle card! I was happy to combine their Butterfly Garden suite with the Small Butterflies stamp, stencil, and die (a hot foil plate is also available). I used a turquoise and gold palette to help set a magical scene.
I started with a large panel of white cardstock. I grabbed a circle die and outlined it with a pencil onto the paper. Then, I used inks from the new Amalfi Coast collection: Waterfall, Turquoise, and Atlantis to blend color just inside the circle in the area that I wanted to. I started with the lightest shade, then worked my way to Atlantis, brushing it lightly along the border. Then, I used that circle die and cut it out. I splattered it lightly with some black gouache, masking the center with another smaller circle, then set it aside to dry.

You can, of course, die-cut it and then ink-blend your colors. I usually prefer to brush the color on before I cut it out so I don’t get unintended ink build-up on the edge of the die-cut—just a personal preference.
Then I pulled out the charming Butterfly Garden stamp and heat embossed the image with Wow’s Gold Pearl embossing powder on another panel of white cardstock. I used the stencil to color some stems with inks from the Amalfi Coast collection. But for some of the stems, I used Warm Buff and Doe with a bit of Apricot lightly brushed on top to warm up the brown and bring it closer to a caramel tone. When everything was colored, I die-cut it all out and set them aside.
Then, it was time to make a butterfly! Woot! I feel like the sky’s the limit when coloring in butterflies. They’re almost magical.
I stamped out the Small Butterflies stamp with a light colored ink. Leaving the stamp in the platform, I again used some of the new blue inks (and a small amount of black for a bold contrast) with the Small Butterflies stencil to color in just a few butterflies. Then l put the cardstock panel back into my MISTI and stamped over it with Detail Black ink. Then, I used one of the stencils to apply gold glitter gel to one of the butterflies, let it dry, and die-cut it out.
Before I adhered my topping panel to the cardbase, I put it back into the stamping platform and used the new Waterfall and Turquoise inks to stamp a few floral stems directly onto the circle. Just to help provide a 3-dimensional scene.
I adhered my topping panel with fun foam. I acquired my sentiment from the With Love stamp set (I wanted my sentiment to be relatively small and not be too dominant over the pretty scene). I adhered the stems and butterfly with small pieces of foam tape; then, I used scissors to cut off the parts of the stem that went off of the card. I scattered some Gold Glitter Drops on the card, and I was done!
I hope some of these design choices have inspired you to make something new today! Thanks so much for stopping by!
-Anne
Anne, your work is always so pretty, delicate and inspiring. Keep up the great creations. THanks for sharing.
Charlene
Charlene! That’s so kind of you to say. Thank you! 😊
Butterflies?! and on my birthday!! SO beautiful, Anne! Those that we bloom on our front porch wish they were this sparkly!
=]
Oh, Happy Birthday!! 🥳❤️😁 Thanks so much for stopping by, Michele!