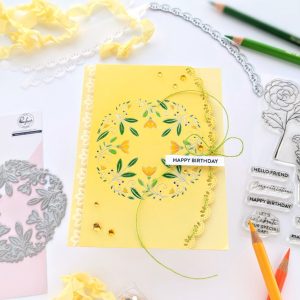
Hi, and welcome back! I’m on the Pinkfresh Studio blog today with a card I made using Pinkfresh Studio’s new Tuberose stamp, stencil, and die sets. Butterflies and flowers combine beautifully for Spring projects, and Pinkfresh has them both!
I thought the Tuberose stamp set was illustrated in such a way, with curving bunches of flowers that come to a point to mimic butterfly wings. I stamped the flowers onto a couple of panels of white cardstock, with light brown ink, and used the six stencil set to color in both panels. For one panel of Tuberose flowers, I stayed with Pinkfresh’s teal color family, Island Oasis, for the blooms and bounced back and forth between teal and Mint/Emerald City for the leaves. For the second panel, I made the flowers in different colors: Apricot, Coral Reef, Candy Violet, and maybe some Ballet Slipper was thrown in there.
I put both panels back into my Memory MISTI, it’s big and has been fantastic to have when I want a lot of stamping space, and gold heat embossed the detail over my coloring for both panels. I die-cut them all out and set them aside to make my background panel.
For my A2-sized card, I started with a panel that was 4 3/4 X 6 in., so that when I’m done blending, I can cut a quarter inch off each side because I don’t usually like it when the edges of the card pick up extra ink.
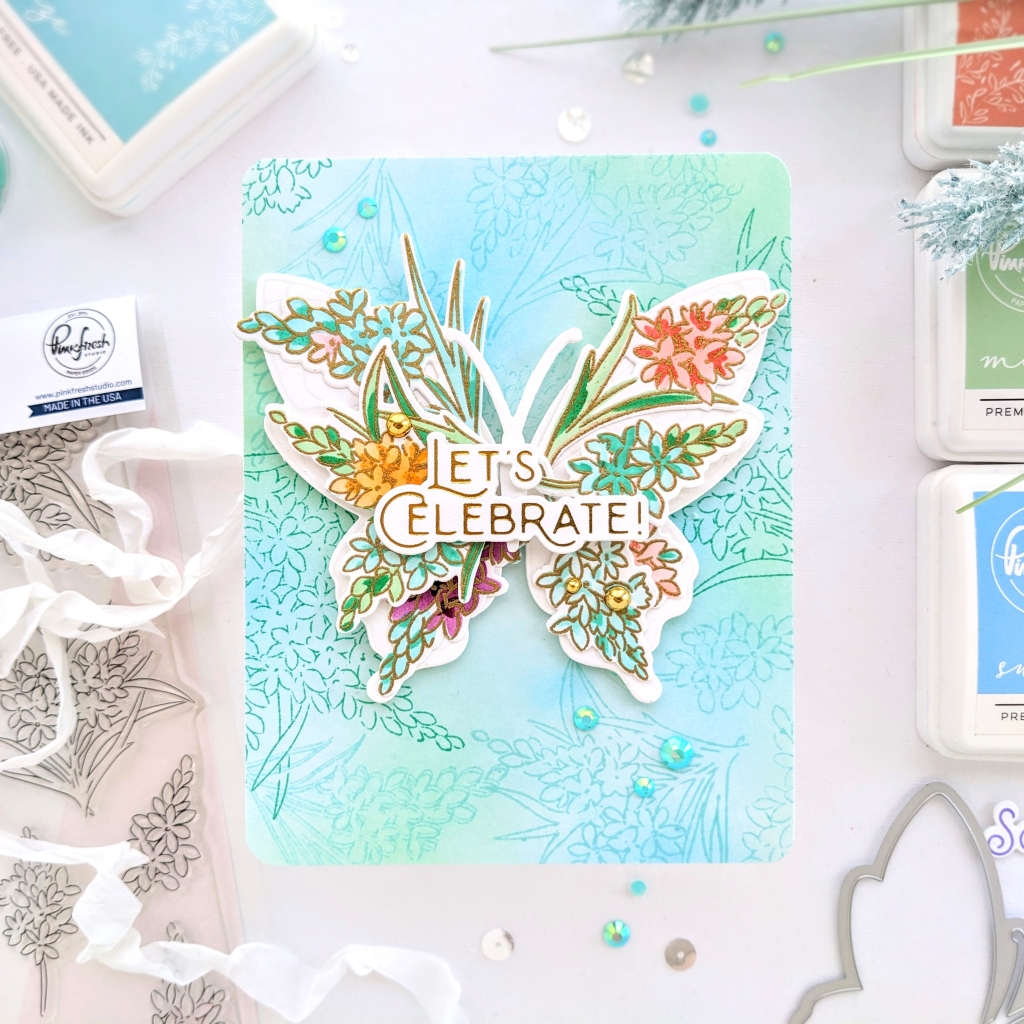
I used: Ocean Breeze, Mint, and Summer Shower for the background, just trying to keep it random and dreamy-looking. Then I used my Memory MISTI again to stamp the outlines of the Tuberose flowers on the background, with Ocean Breeze and Aquamarine. I rounded the corners (because the world feels sharp and pointy right now, I’ve been rounding the corners of most of my projects. That makes perfect sense, right?).
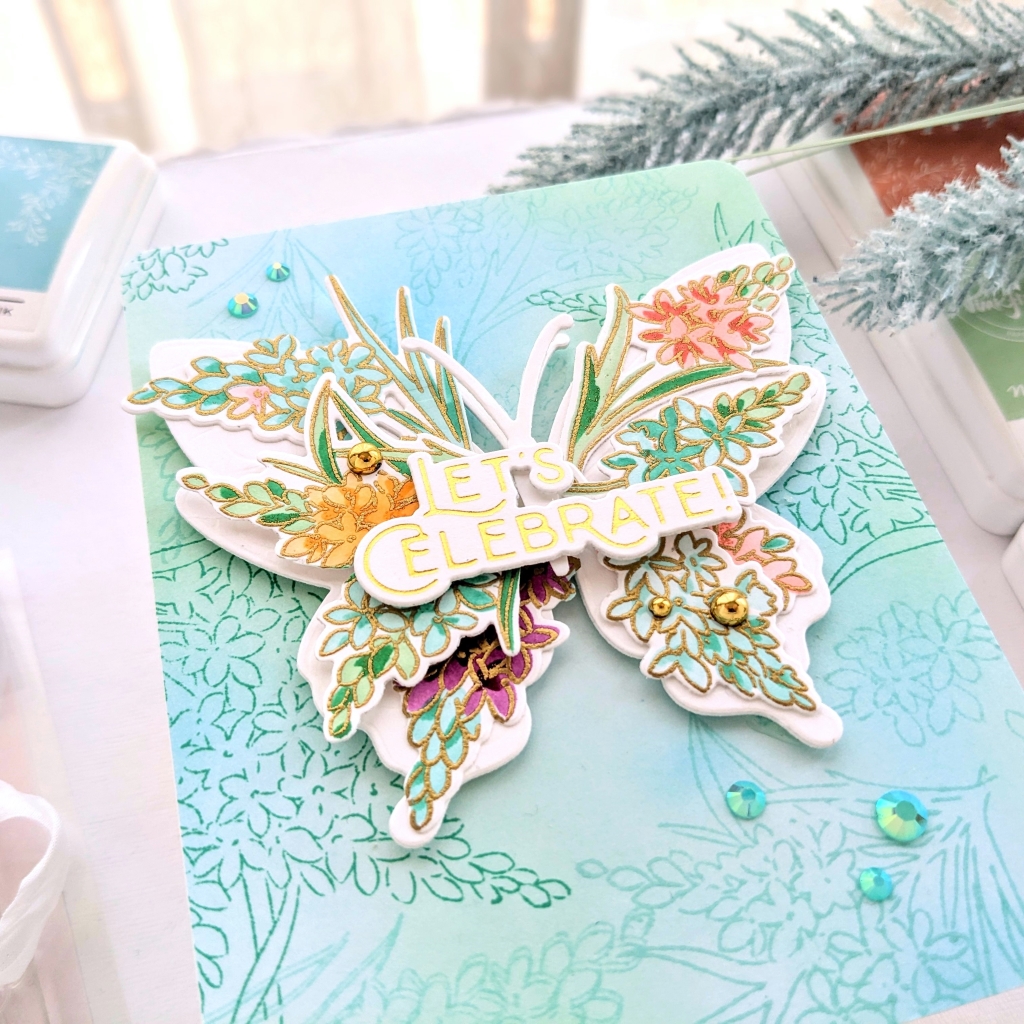
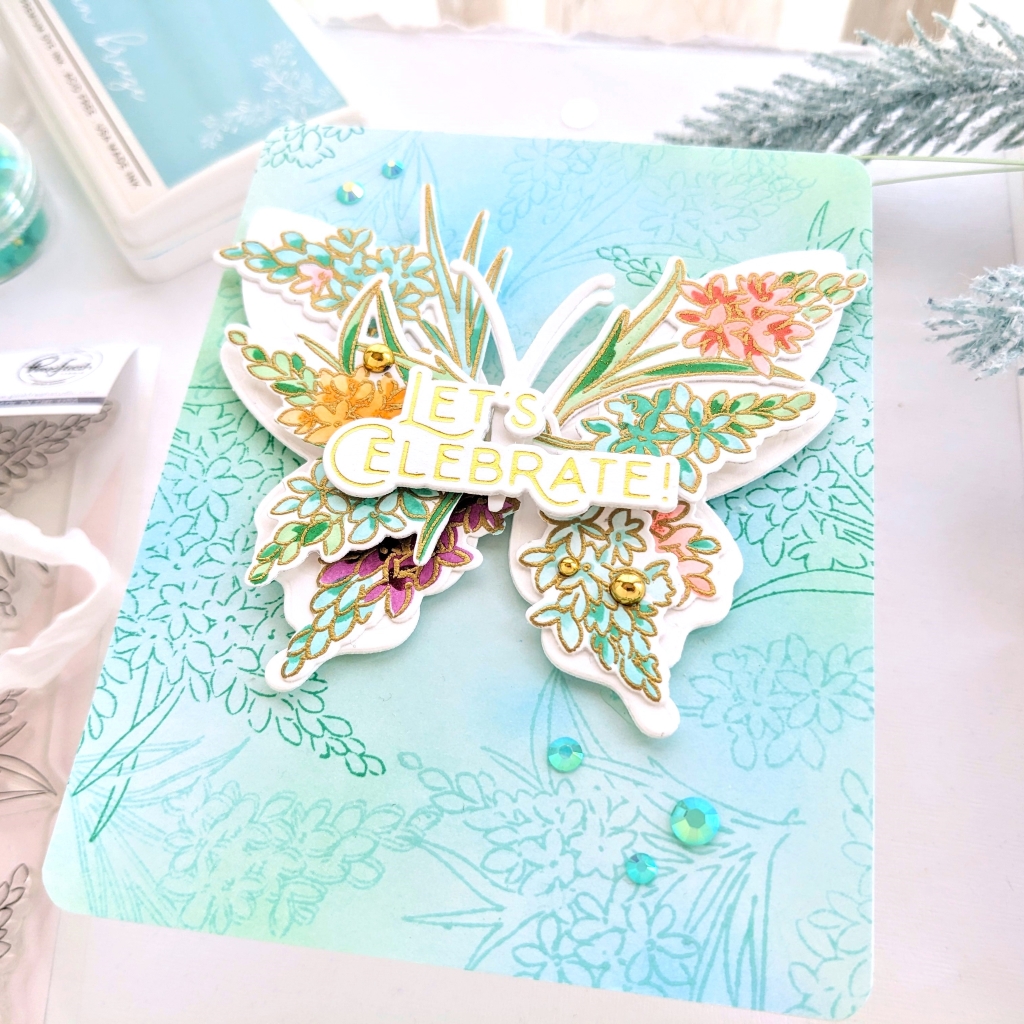
I used foam tape to adhere a white die-cut butterfly, using the Butterflies die, and started selecting and arranging the floral bunches. I made sure to pull the bunches back from the outline of the butterfly a little bit; I felt it was important for the butterfly to be visible with all that layering going on. I had to fussy cut some of the flower branches a little bit, mainly towards the center of the butterfly, where they meet up. I fussy cut out the butterfly’s body to place it over the center but under the sentiment. And put the sentiment on top. Wherever the flower bunches had to overlap on the wings, I used foam tape to pop up one or the other.
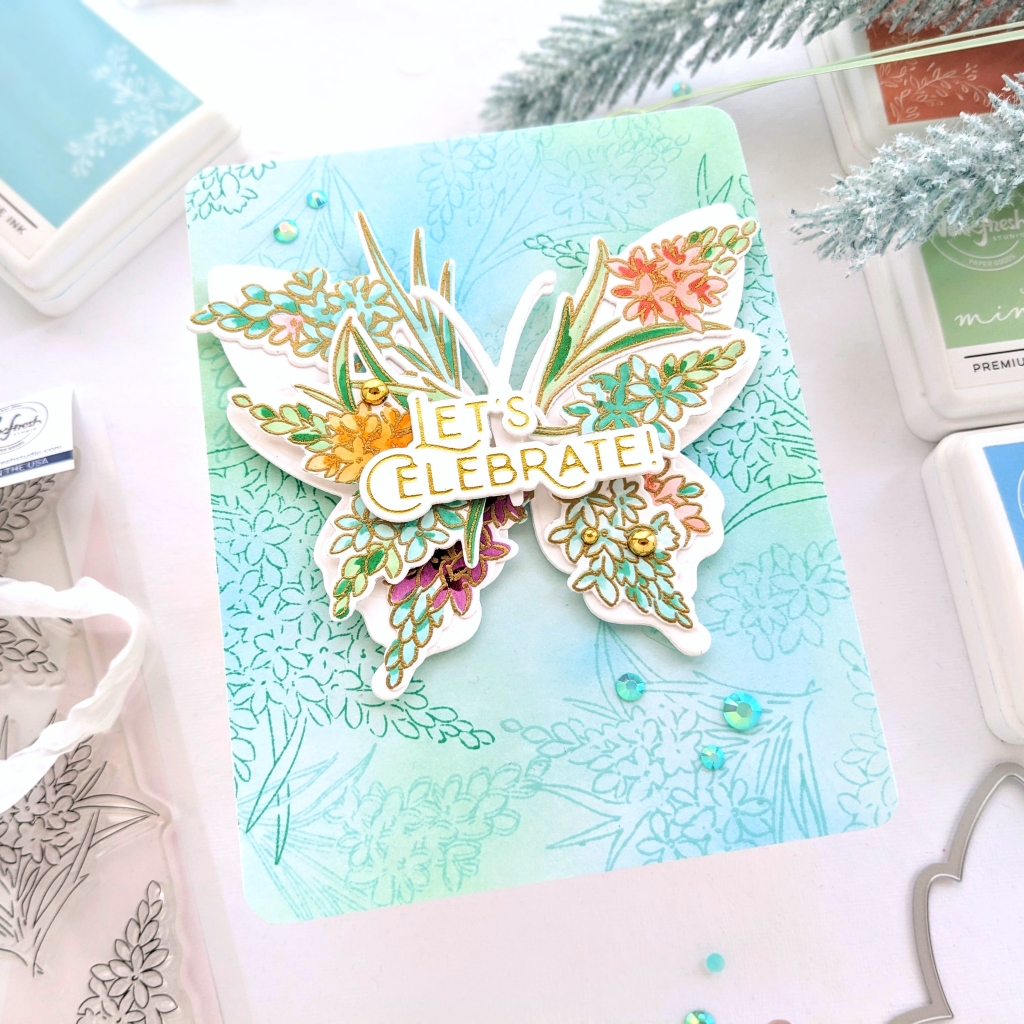
I hot foiled my sentiment using gold foil with Wonderful sentiments hot foil plate and die. I diagonally placed metallic gold pearls on the butterfly around the sentiment and a few Ocean Breeze jewels on the background panel. And I was done!
I hope some of these design ideas have inspired you to make something new today, thanks so much for coming by!
-Anne
Beautiful card Anne! I just love your techniques and tips and your color choices are fantastic! I feel inspired!
Wonderful! Now go make something! Thanks so much, Cindy!