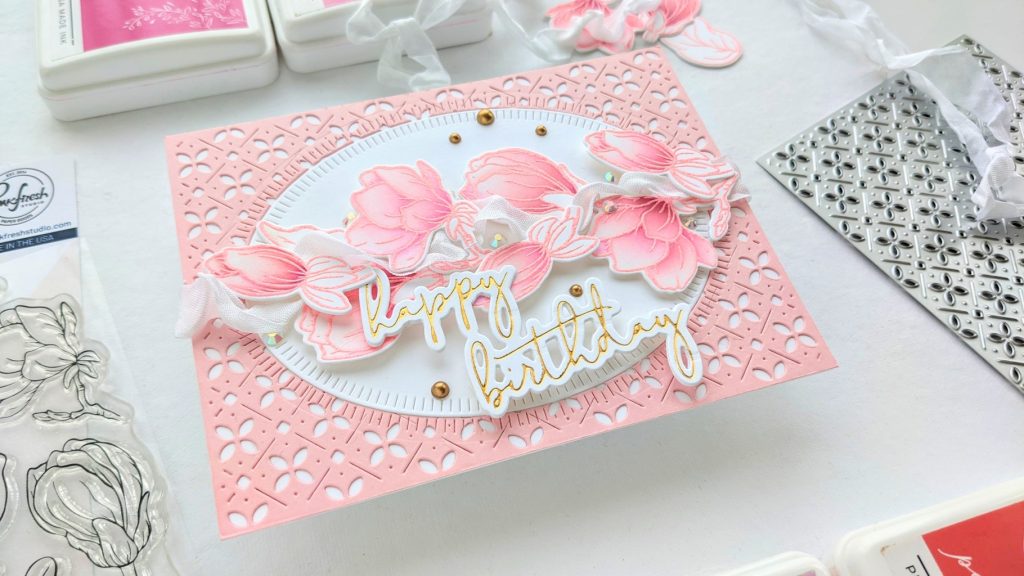
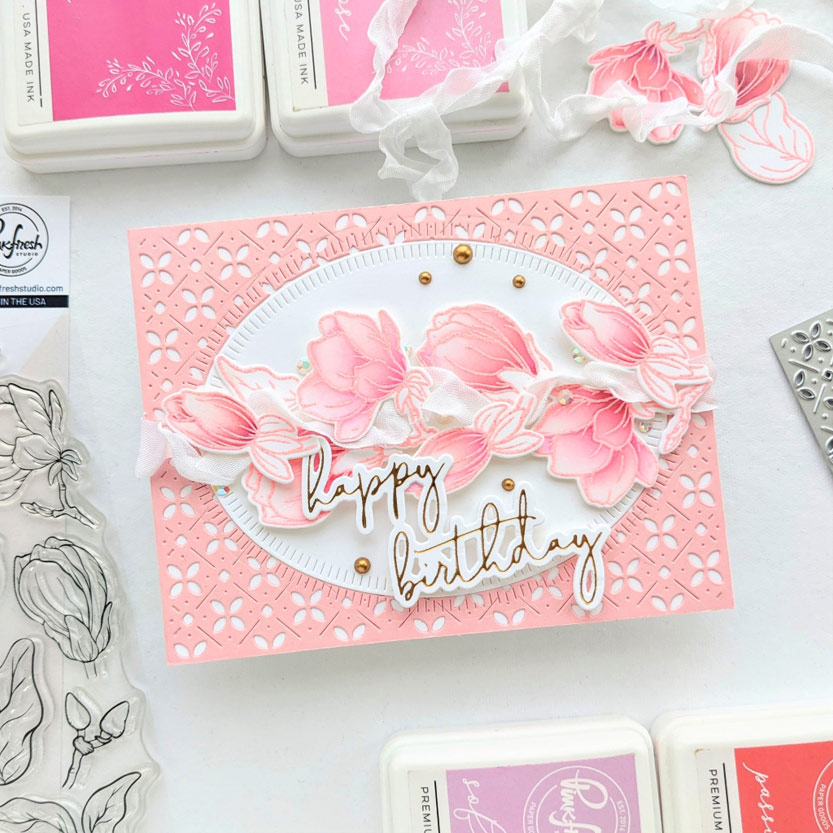
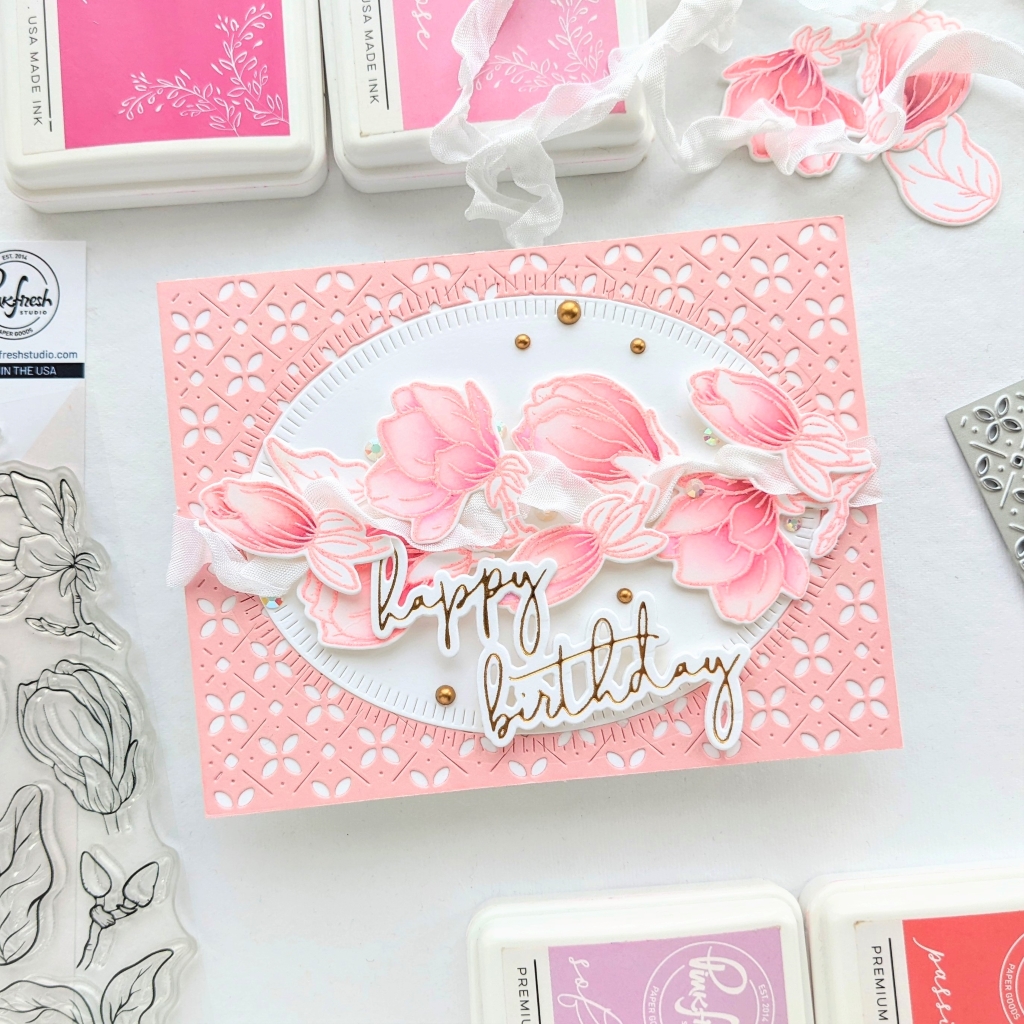
Hello and welcome back! I’m up on the Pinkfresh Studio blog today with a pretty-in-pink birthday card. I used Pinkfresh’s sweet new Magnolias stamp, stencil set, and die, along with some seam binding ribbon to make a ruffled border of magnolia blooms!
I started off using the new Floral & Diamond Tiles coverplate die with soft pink paper, already trimmed to 4 1/4 X 5 1/2, then die cut an oval from it with the Blanket Stitched Oval die set. I also die-cut an oval from white cardstock and adhered the floral die-cut background as well as the white oval down onto an A2-sized lightweight piece of paper. Then I used a glue dot to stick one end of a strip of seam binding ribbon to the underside of the panel. I used a couple more dots to adhere the crinkly ribbon in a line across the paper for my blooms to be arranged around. Then the whole panel was taped down to a cardbase.
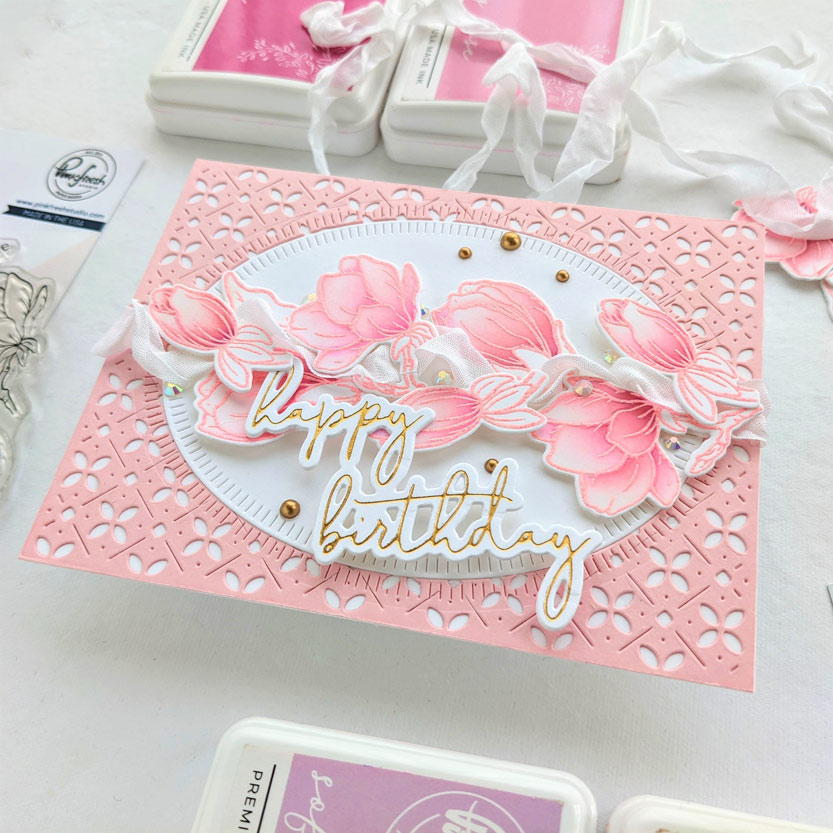
For the flowers, I put white cardstock into the MISTI and used some Pink Peony colored embossing powder (Ranger-Wendy Vecchi) because it matched my pale pink cardstock perfectly. I heat embossed the flowers onto 3 pieces of paper because I wasn’t sure how many blooms I would need, so I made more than enough. Then I used stencil no. 1 from the 5-stencil set to color them in. I ended up adding detail to the blooms by using small blender brushes (tiny) and post-it tape to mask off areas when needed. Then I also used just a little bit of pencil here and there. I decided that I wanted the leaves and stems to remain uncolored because I liked the look of it.
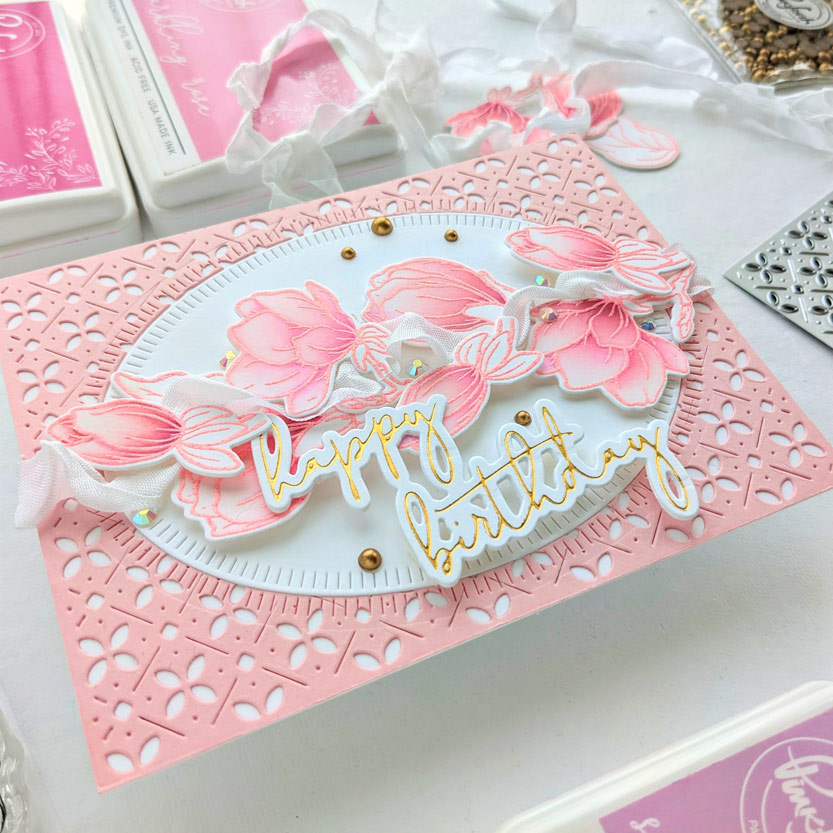
I used all of the pinks in the Fairy Dust ink cube collection, except for the darkest. And I used a light hand with Passion Fruit and Soft Lilac together to get that sort of mauve-y shade. I die-cut out all of my blooms and started arranging them in a “border” across the card, using one or sometimes two layers of foam tape to vary them slightly.
I added a hot foiled sentiment using Fancy Script Words hot foil & die, I like the thin delicate line of this sentiment collection, it compliments those pretty flowers so well. Then I added white iridescent jewels from the Jewels Mix around the ribbon and matte gold Metallic Pearls to extend the color of the polished brass foil of the sentiment, elsewhere on the card. Then I was done!
I hope some of my design choices have inspired you to make something new today. Thanks so much for coming by!
-Anne


I was drawn to this card because of the beautiful pink color. It is so pretty!
Oh good! Obviously, I love pink too. Thanks so much Anita!
You always create such gorgeous cards and this one is exceptional because I adore the colour pink!
Me too! Love pink! That’s so kind of you to say, thank you Rachel!
Like Anita, the pinks drew me in.
I definitely will purchase the Fairy Dust inks soon from PinkFresh Studios.
Thanks for sharing this beautiful card!
What’s fun with the Pinkfresh pink inks is how they change when you add just a touch of another color on top. Like purple or green, or even brown. Just a teeny tiny bit at first will change the pink you’ve got on your project. Thank you for Stopping by Amanda!