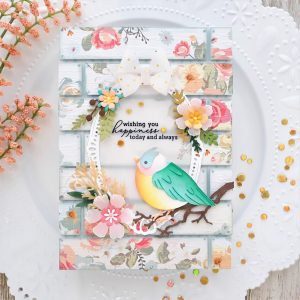
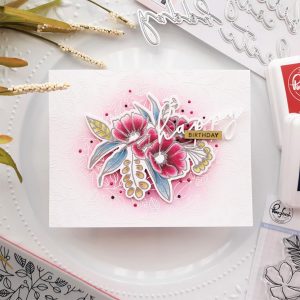
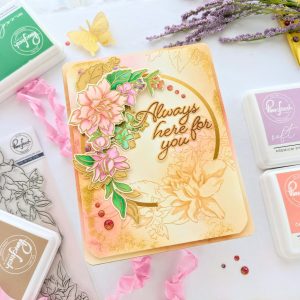
Hello and welcome! I’m up on the Pinkfresh blog today, with a lovely card that features the dahlia vine from the gold foiled Dahlia Washi tape design. I just love how it bends and flows, perfect to line up along differently shaped borders. I used a square shape today. The die cut, washi tape elements made the whole making-process go quickly and easily.
I started by sticking the Dahlia washi tape to heavy white card stock and die cut it out with the accompanying die, I did this twice to make sure I would have enough of what I wanted when I started arranging pieces. Then, after deciding that I wanted to just use the vines, I grabbed a white 3 3/4″ square piece of cardstock to blend some colors onto, just in the corner for a pretty glow from the arrangement.
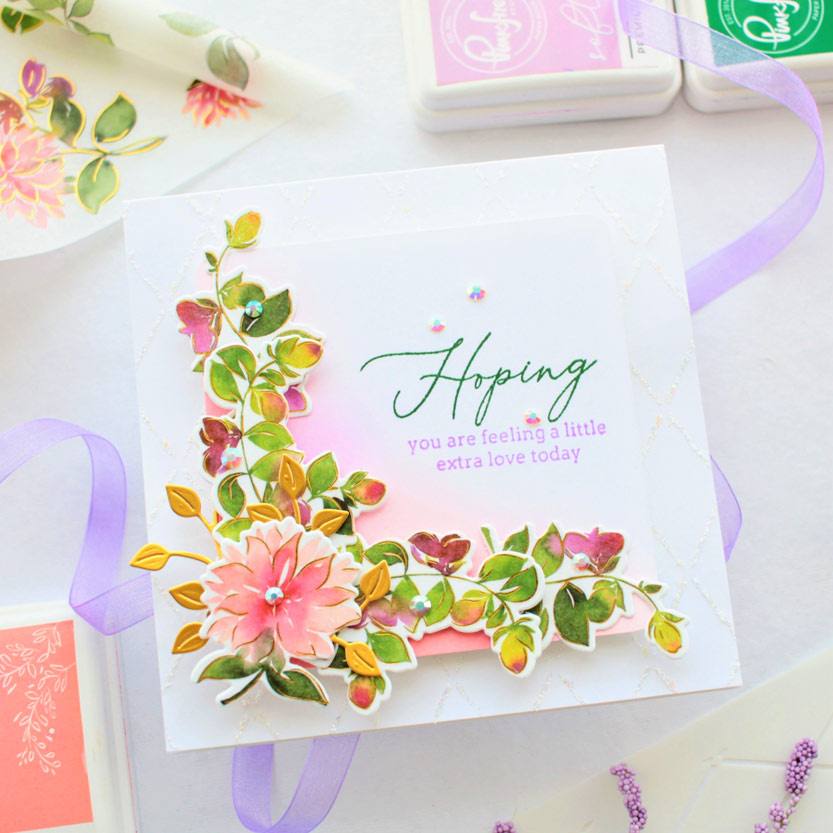
Inspired by the colors in the Dahlia washi design, I chose: Ballet Slipper, Coral Reef and some Soft Lilac because of the fun purple bits in the vine. I blended it out to white in the corner so I could stamp a pretty, scripty sentiment in that space. I used Evergreen and Lavender inks for my “Hoping…” sentiment, which came from the beautiful Choose Hope stamp set. I rounded the corners and set it aside before I did any arranging of die cut pieces.
I decided at this point that I would use some pretty glitter gel and one of the stencils from the Slimline Diamond Builder stencil set to put some subtle criss-cross lines on the cardbase, and make sure that my 3 3/4″ square topping piece of paper would have a sizable border. The completed card measures 5 X 5 inches.
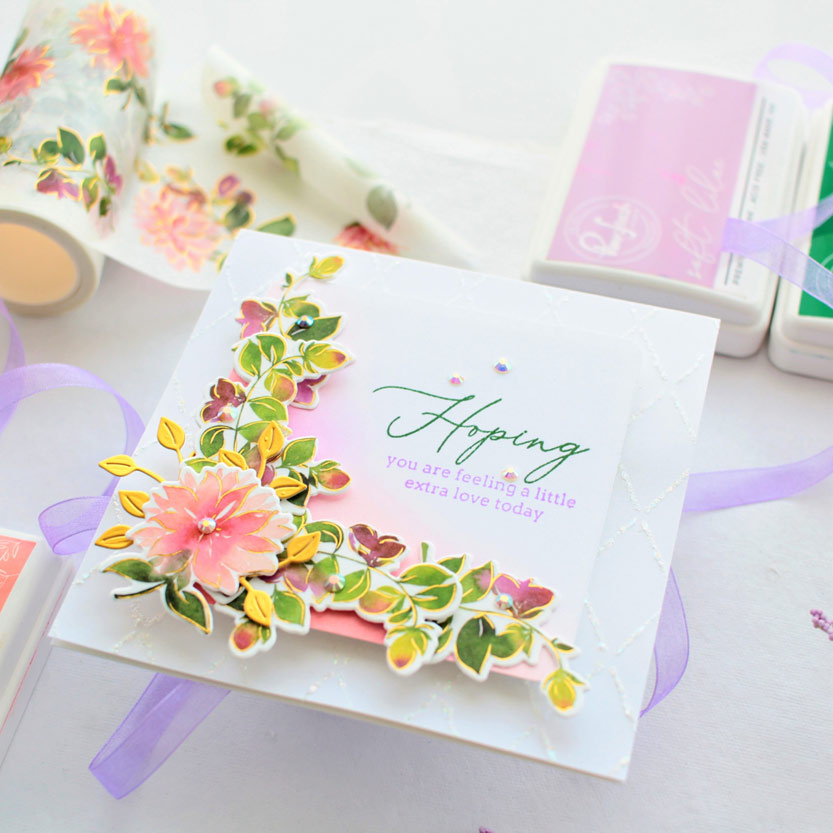
Once the glitter gel was dry, I popped up the center square with fun foam (I like to use glue to adhere anything to a textured surface) and started adhering the vines to the ink blended square using foam tape where necessary. I decided at the last minute to stick an actual flower on the card too, I just adore that light puff pink bloom and had to include it!
Then I thought, “Should I include some gold leafy branches? Just around the flower…” I had some sitting on my table, I cut them apart and started sticking them in place. I wasn’t sure I loved it, but left them where they were while I went to refill my coffee cup, came back and realized that I had placed a couple of them in the still wet glue of previous layers and they were stuck in place! I could have trimmed them off if I really wanted to but in the end I decided that they brought something to the arrangement and left them in.
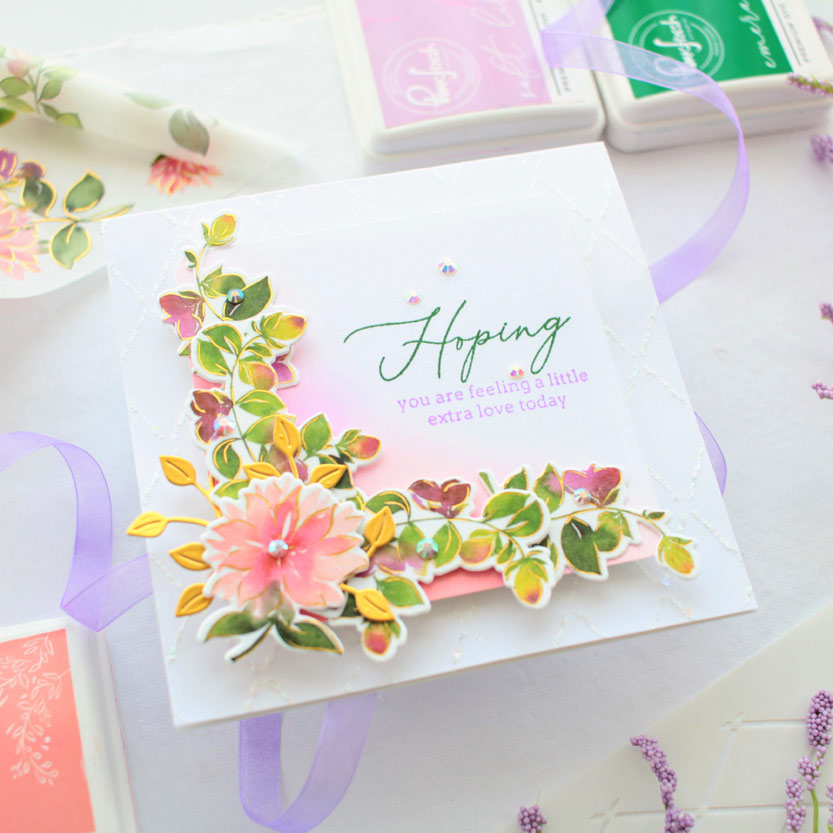
I added some Glacier Jewels because they have the same iridescent quality as the glitter gel on the cardbase, and was done!
I hope that some of these design choices have inspired you to make something new today. Thanks so much for coming by!
-Anne