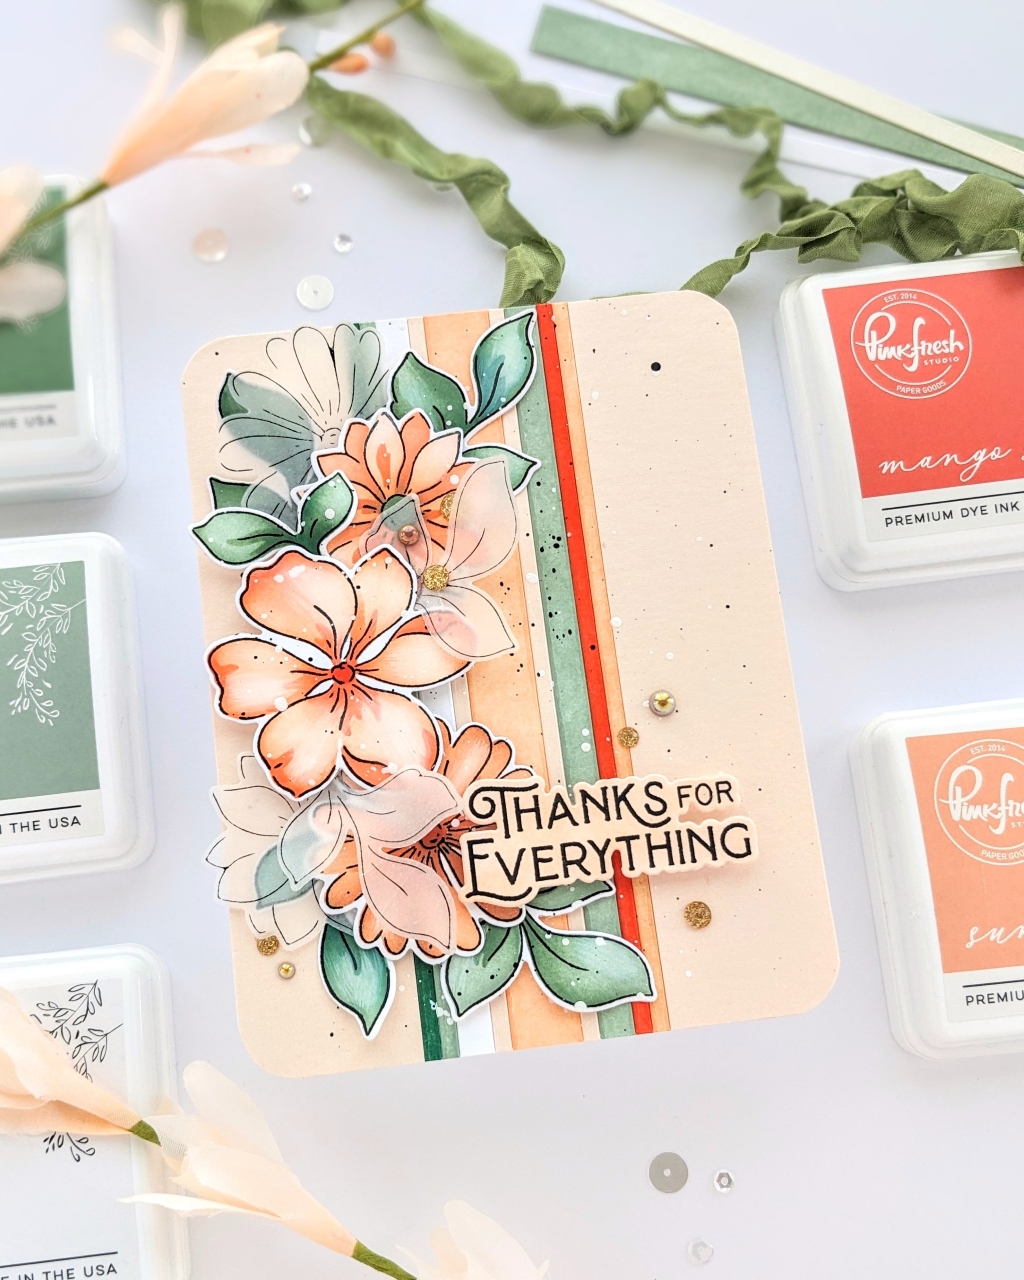
Hi everyone! I’m up on the Pinkfresh blog today with a pretty-in-peach card! I made it using Pinkfresh Studio’s new Chasing Sunsets and Green Gables collection of inks and their new white pigment ink, Calico White! This project is all about layered colors and layered die cuts! I chose the lovely Brighter Days stamp, stencil set, hot foil plate, and die to play with.
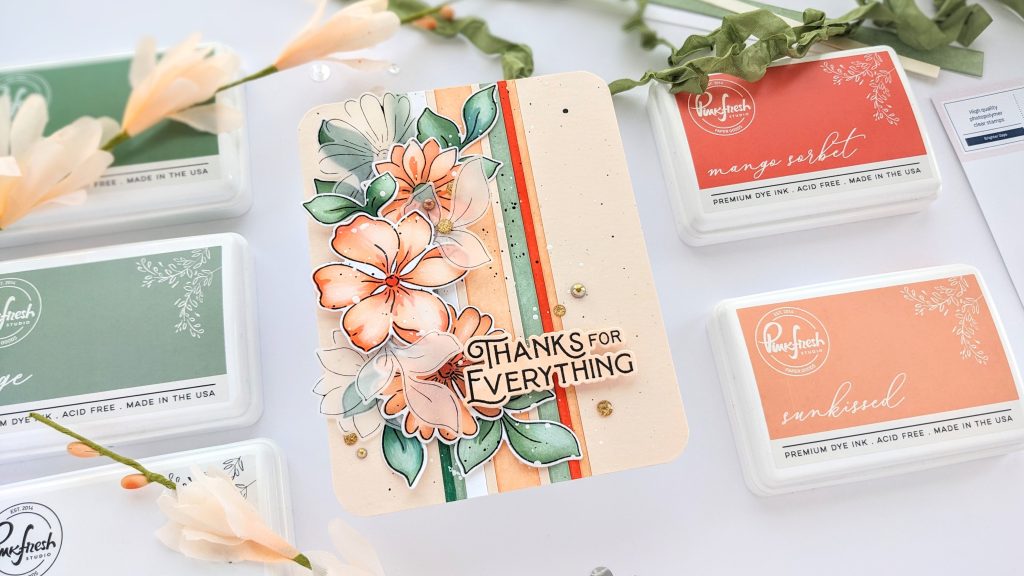
I started with an A2-sized piece of lightweight cardstock for the topping panel. I die-cut strips of heavyweight white paper using the Slim Stripes die set and colored them using Sunkissed, Fruit Punch, Sage, and Spruce Tips. For the wide outer panels, I cut a 4 1/4 X 5 1/2 piece of specialty cardstock resembling a lighter Sunkissed shade. Then, I cut it in half and glued it to either side of the colorful stripes. I flipped that panel over and cut off everything that extended off the card’s border. I splattered black and white paint on it and adhered it to my cardbase when it was dry.

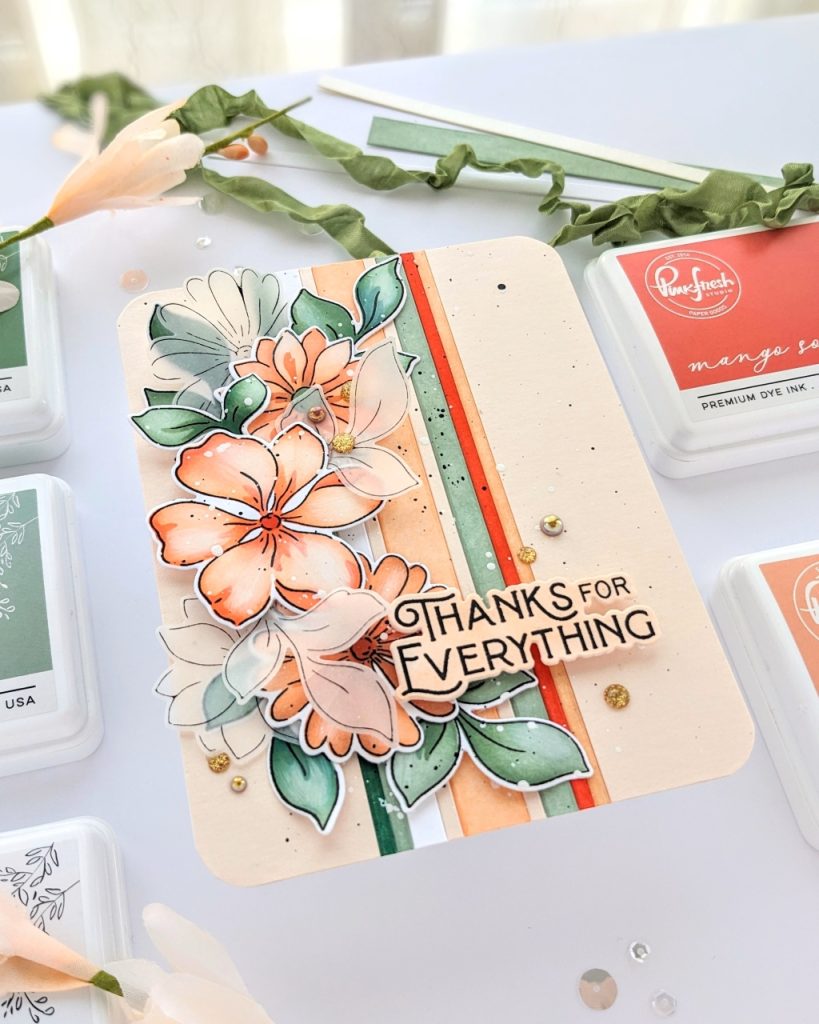
When I decide I want a card with layered pieces, sometimes I’ll start by stamping the images two or three times and then die-cut them out. I’ll place them on a card-sized piece of paper and move them around to decide what I want. After deciding how I wanted this project laid out, I stamped the flowers and leaves again on a larger panel, this time using heavyweight paper.
After coloring them in, I used Pinkfresh’s new Calico White pigment ink and a very small, round, domed brush dedicated to the white pigment ink to brush some white over parts of the petals and leaves. Layering white ink over color doesn’t look quite the same as just leaving it white. I love to layer colors, as well as die-cuts; I think it makes the image more interesting to look at.
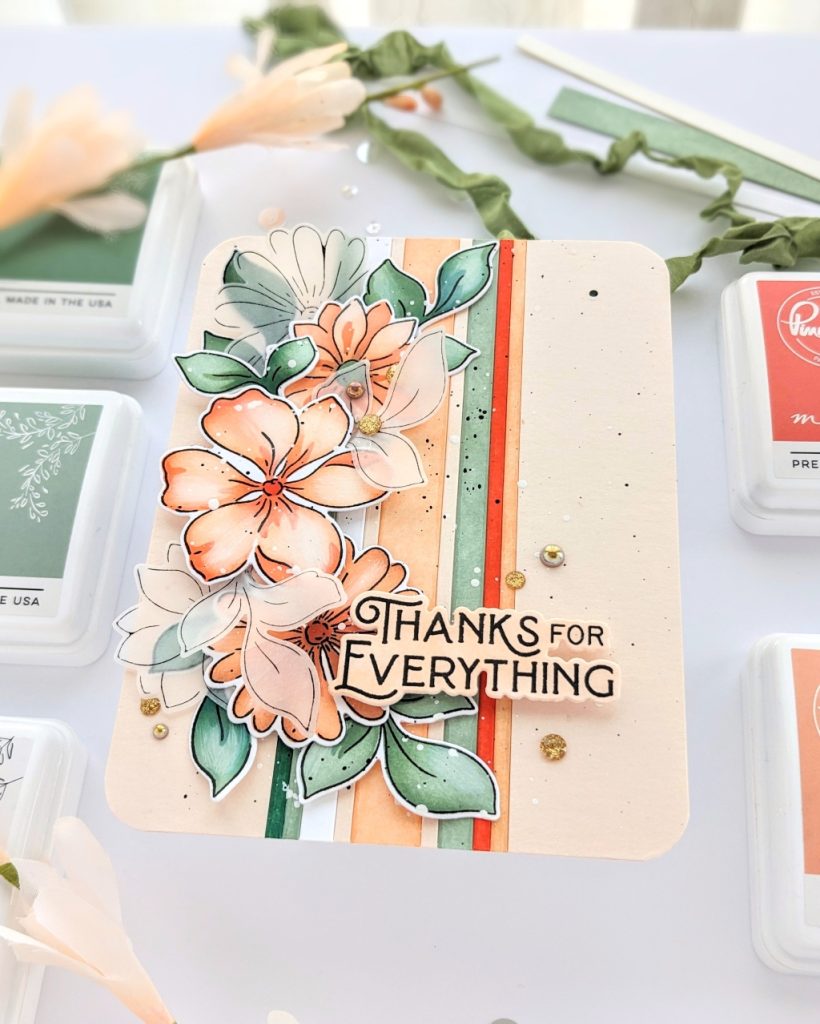
Pigment ink takes longer to dry than dye inks (your heat gun, used responsibly, can speed things up), but it blends beautifully onto those petals and leaves. I put my colored panel back into the stamping platform and used Detail Black to highlight the detail more. Then I lightly splattered with white and black paint, let it dry, and die-cut everything out.
I decided on one of the blooms as a focal point, put two (sometimes I’ll use three) pieces of foam tape just in the immediate center, and then placed it where I wanted it. For me, it’s easier to place this piece the highest on the card so that I can insert other pieces under and around it. The other two colored blooms got one piece of foam tape each. All of the other pieces, including the foiled vellum leaves and flowers, were inserted here and there using small amounts of glue and reverse tweezers.
I used the Wonderful Sentiments hot foil plate and die sets for my sentiment and added a sprinkle of gold Glitter Drops and Metallic Pearls. And I was done.
I hope some of these choices have inspired you to make something new today. Thank you so much for stopping by!
-Anne
Anne, these colors are so beautiful! I really have to give that foiling machine another try – LOVE your foiled vellum leaves!
=]
Michele! You’re so kind, thank you! ❤️😊