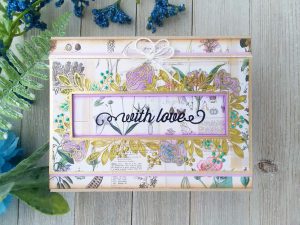
Hi guys! Simon Says Stamp has another collection of designs today called Season of Wonder. I got my hands on the new layering stamp set, Fresh Air Fall Flowers, and made a soft, pretty Fall card with a sentiment you can share with anyone. I loved the whimsical nature of these illustrations! This set allows you to build your flower and arrange your bouquet however you like. I went with a loose, watercolor effect, using pink, orange, light brown, and purple ink colors for this beautiful stamp set!
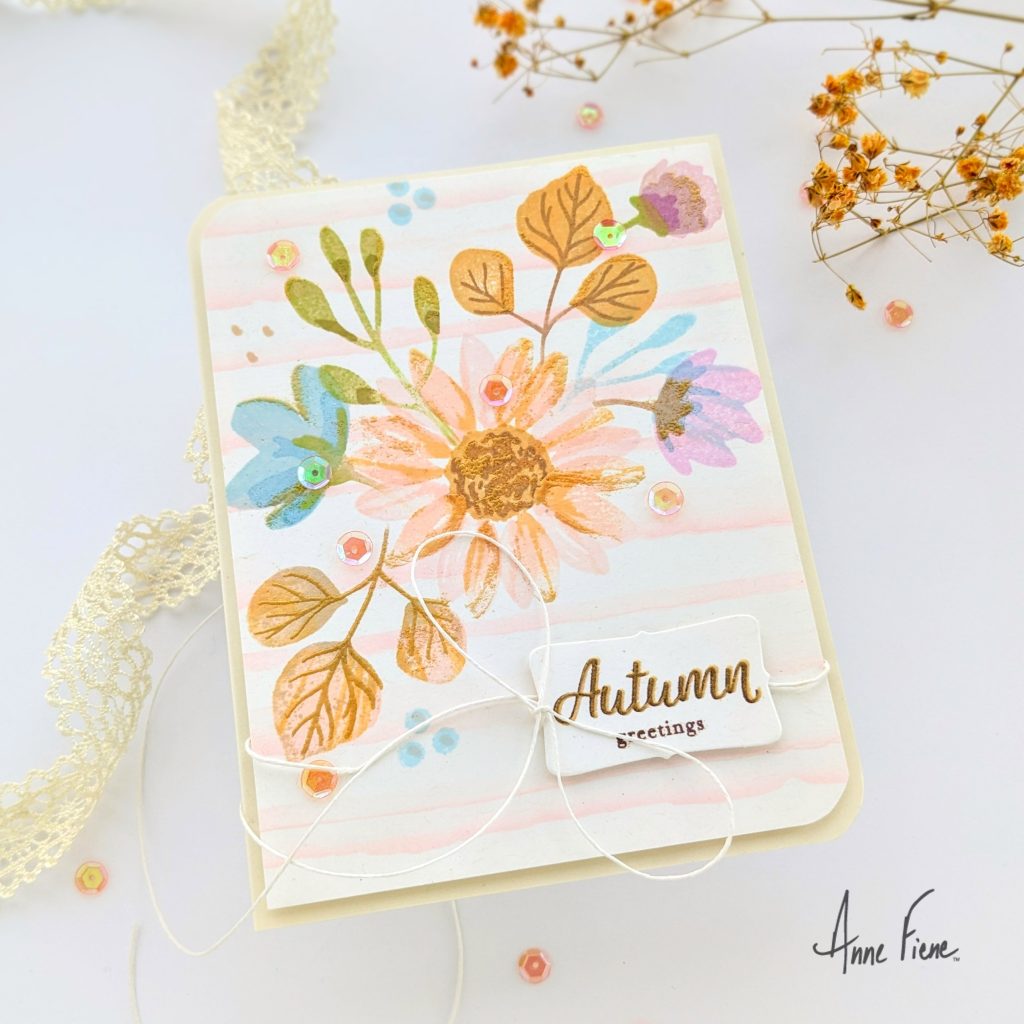
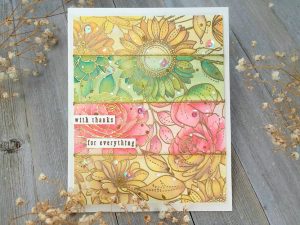
I started by using a stencil (like this one) and light pink ink on a panel of Simon Says Stamp’s Ivory cardstock. Then, I began stamping out my bouquet, starting with the center flower and building out from there. I tried to keep the stamping experimental, at least for me. I would stamp a color down, leave the stamp in place, and grab another color to stipple or stripe some ink onto it just with the ink pad and stamp again. I love the loose watercolor look of the card.
I didn’t mask anything; I just placed the stamps where I wanted them, applied ink to the stamp, and if it looked like it was taking over another flower, I would use my finger or a cloth to wipe away or dab at the ink on the stamp. The key for me was to let the “mistakes” sit there for a bit before getting upset and trying again. There might have been one or two mistakes that turned out to be “happy accidents.” I felt I had to let go of total control for the type of card I wanted.
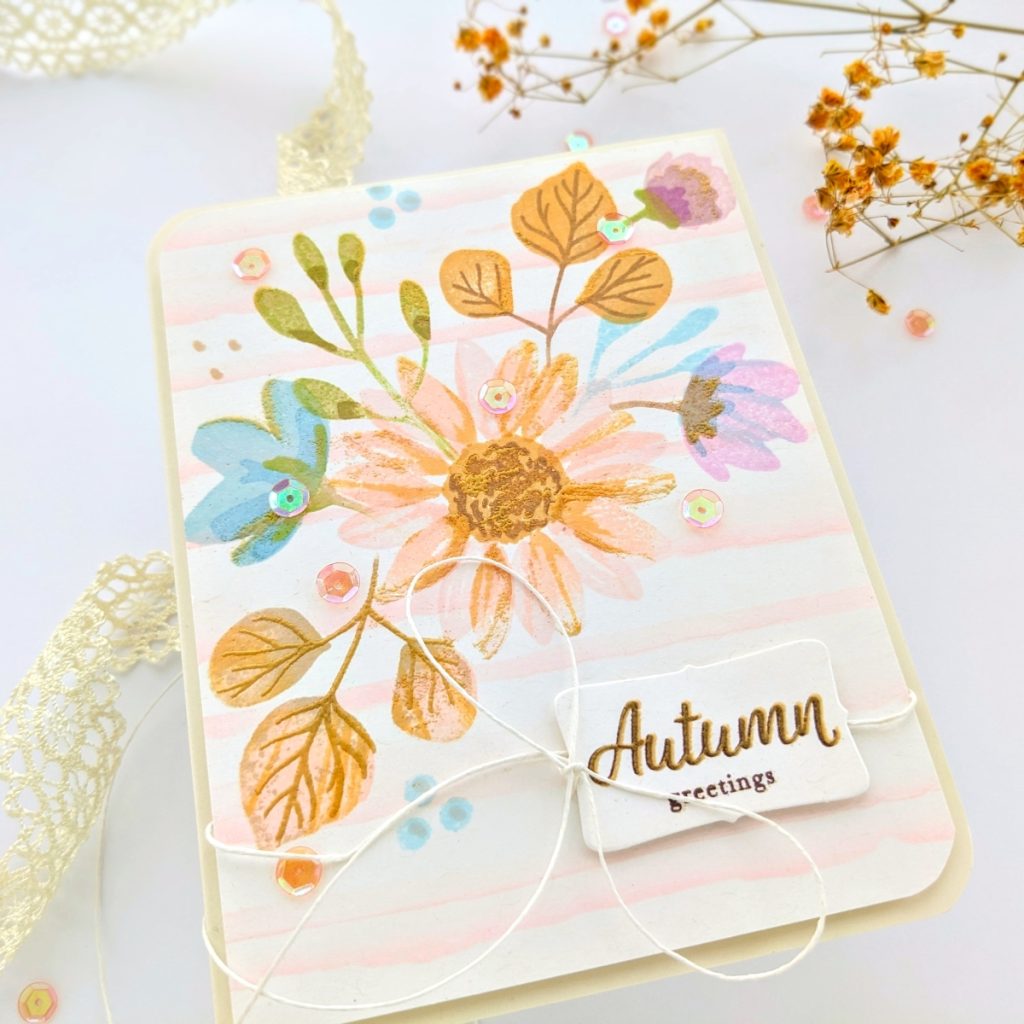
For a touch of fancy (I love all things gleaming, sparkling, and shimmering ?), I added embossing ink, using a Q-tip, directly to the stamp and heat embossed some of Wow’s! Gold Pearl Embossing Powder. Before heat setting, I would sometimes grab a paintbrush and brush away some of the embossing powder if it went somewhere I didn’t want it. I liked the idea of keeping it streaky and loose like the flowers are.
I double-stamped the sentiment, once in brown ink and then over it, just slightly off center, with the gold pearl embossing powder. I popped up the sentiment with foam tape and tied a string bow near it before adhering the panel to an A2-sized Cream colored cardstock base. I added some translucent light orange sequins and was done.
Thanks so much for stopping by!
-Anne
Anne, I just love the look of this and thank you so much for including the stencil as I have something similar that I can play with. You have given me so many ideas now with the stamp sets that I have. I just LOVE the way this turned out and especially how you did the sentiment – so whimsical and cute. Your creations are inspiring.
I’m really so glad you like it. It was a bit of a departure for me, I’m usually more interested in making dimensional cards. But this was a lot of fun and I felt very artsy by the time I was done. Thank you so much, Charlene! ❤️