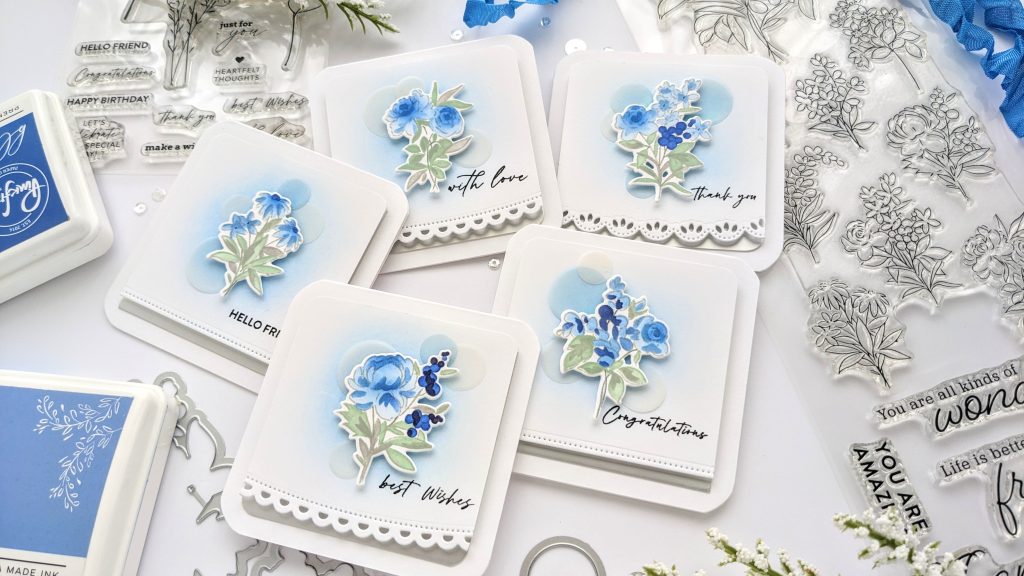
Hi everyone! I’m on the Pinkfresh blog today with a handful of sweet mini notecards that I made with the new Garden Bouquet stamp set. This large stamp set coordinates with the newly released Garden Bouquet washi, stencil set, and die and is full of small, pretty floral bouquets. I wanted them each to have their own space, so I made notecards for five of the eight small bouquets.
I started with a panel of 8 1/2 X 5 1/2 in. white cardstock in the MISTI, and my large Garden Bouquet stamp set was placed with one end in the top left corner, and the bottom of the stamp was directed to the opposite corner. It just fits, and I only needed the smaller bouquets anyway. I stamped them out with a light gray ink, Misty Coast, because I hadn’t decided how to finish them, and I would see how I felt after I colored the flowers in. I grabbed the six stencil set and blue inks from the Starry Night ink cube pack: Slumber, Blue Jay, and Sapphire for the flowers with Stargazer in just one or two places. I used Mint and Rocky Slope (very lightly) for the leaves.

When I was done coloring, I decided I liked how dreamy the flowers and coloring looked and that you could see just a little detail from the first stamping, so I decided not to stamp over the image again. I did use a gray pencil to go over the stems but left the rest of the flowers alone. I die-cut my blue flower bouquets out and set them aside.
The card bases measure 3 1/4 X 3 1/4—the topping panel measures 2 3/4 X 2 3/4. I ink-blended a little bit of Slumber in the middle of the topping panel and used Pinkfresh’s Classic Edgers die set to put a pretty edge on the bottom. I placed another small panel ( 2 3/4 X 2 3/4 in.) of a pearly silver specialty paper I picked up from my local craft store. I wanted that silver paper to just “peek” out at the bottom. Before I glued the topping panel to the card base, I stamped sentiments onto them using the With Love stamp set. I adore those tiny sentiments! And they were perfect for my project. The topping panels were adhered over the silver paper with fun foam and glue.
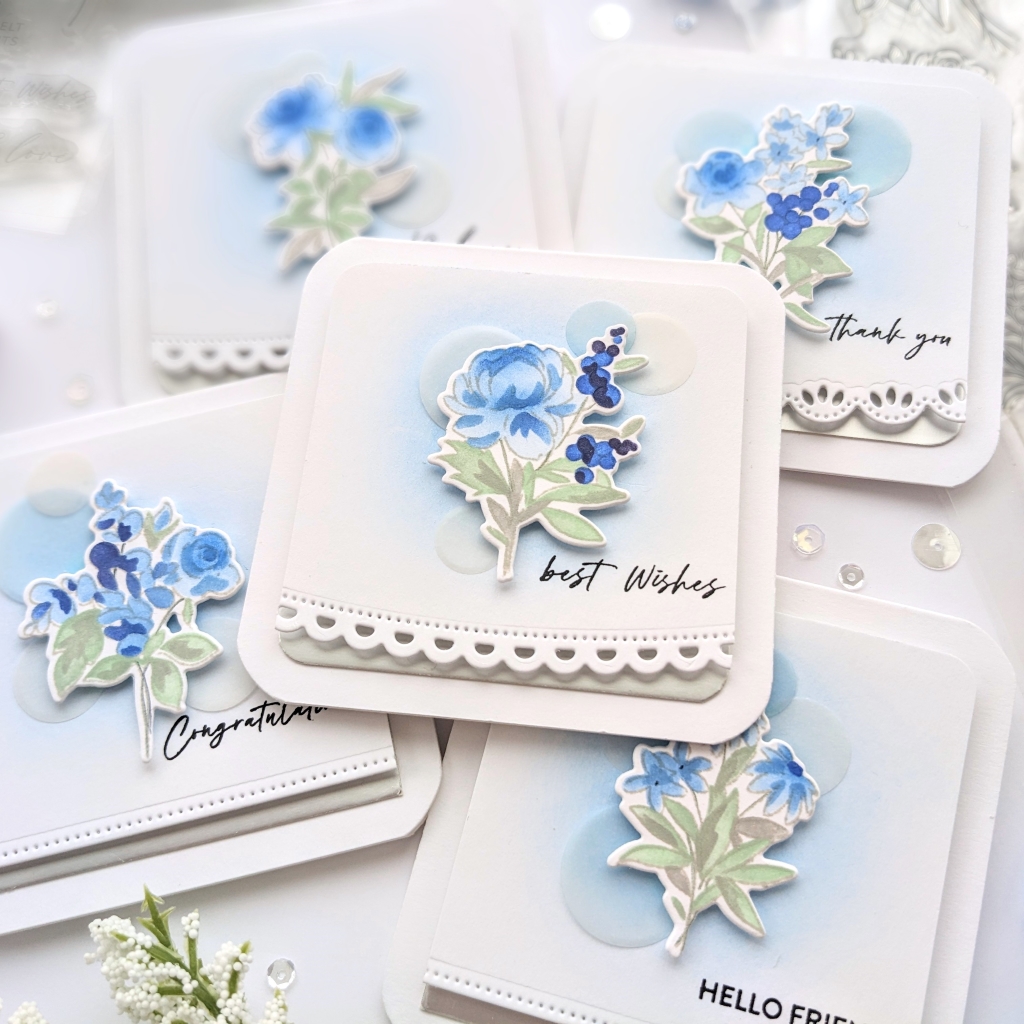
Before I glued the flower bouquets to the notecards, I added some vellum circles using the circle die from the Rosettes die set. I love how they add subtle movement behind the flowers. Some circles were colored with Slumber ink, and some were left alone. I put just a drop of glue on the edge of the circle that I think will be hidden under the flowers and dabbed at it with my finger to move it around and pick up some of the glue. These vellum circles are very lightweight and don’t need a ton of adhesive.
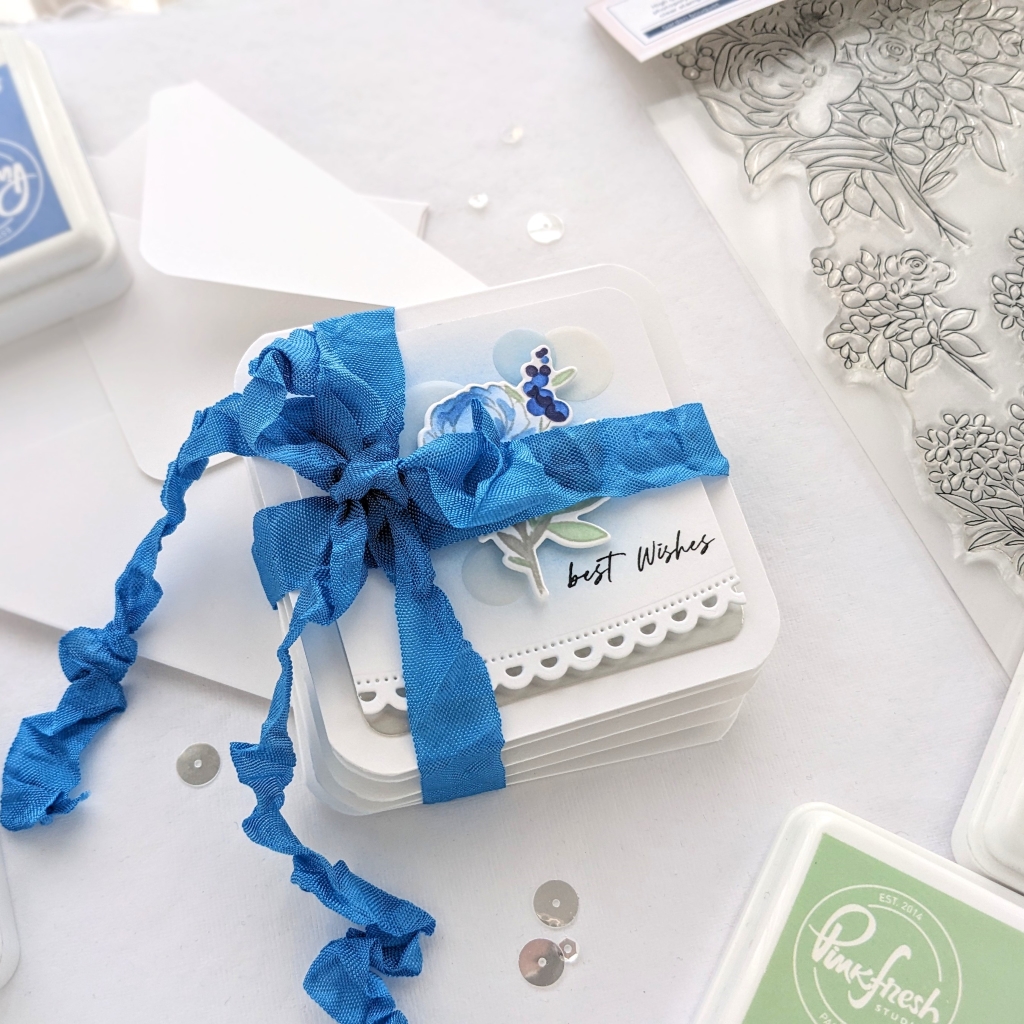
The bouquets were adhered down over the color blend and vellum circles with foam tape, and I decided on no bling this time. Then I was done! It’s time to stack those darling mini notecards and ribbon them together if you plan on giving them to someone as a gift.
(For the envelopes I cut paper to 5 3/4 X 5 3/4 then scored at 2 7/8 in)
I hope some of these design choices have inspired you to make something new today. Thanks so much for coming by!
-Anne

These are just beautiful!
Wonderful! I’m so glad you like them!