
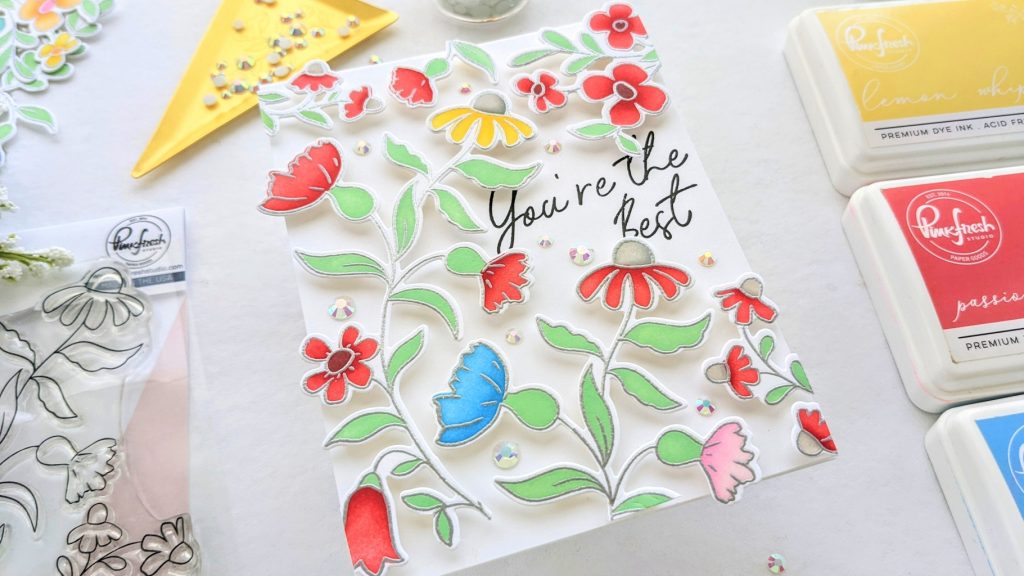
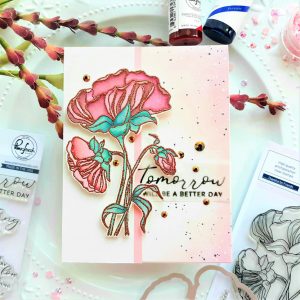
Hi guys! I’m up on the Pinkfresh Studio blog today with a simple yet pretty and flowery card. I made it fun and dimensional with the new Wildflowers Slimline stamp, stencil set, and die. This new stamp set includes a wildflower stem long enough to accommodate a slimline card size seamlessly, but I chose to cut and arrange the individual flower branches to cover an A2-sized card.
I was able to use my regular-sized stamping platform by placing the wildflower stamp on the window diagonally, I just made sure to have a large piece of cardstock in there too. I heat embossed it with silver embossing powder twice (on two separate pieces of paper) because I wanted to make sure to have a good number of branches to choose from when it came time to arrange them.

I used my blender brushes to color both of the embossed images, sticking mostly to Pinkfresh’s red inks, and some yellows and blues. The leaves were colored in with Mint from the Garden Stroll collection. Then I used the accompanying Wildflower Slimline die to cut them out.
I had a top-folded white cardstock cardbase (taped down to my glass mat cause it was a bit slidey) ready to start arranging stems. I started by cutting one of the branches in half, then it was all just moving things around… experimentation. I decided to leave them as intact as I could to keep the flow and curve of the stems, and cut off (most of) the parts that extended over the sides. I also decided that if I had one or two flower pieces extending past the edges of the card, that just meant I might have to make an envelope to accommodate it. I was okay with that. Of course, it would have looked just as nice (maybe better?) to trim off all of the over-hanging pieces. I just chose in the moment, not to.
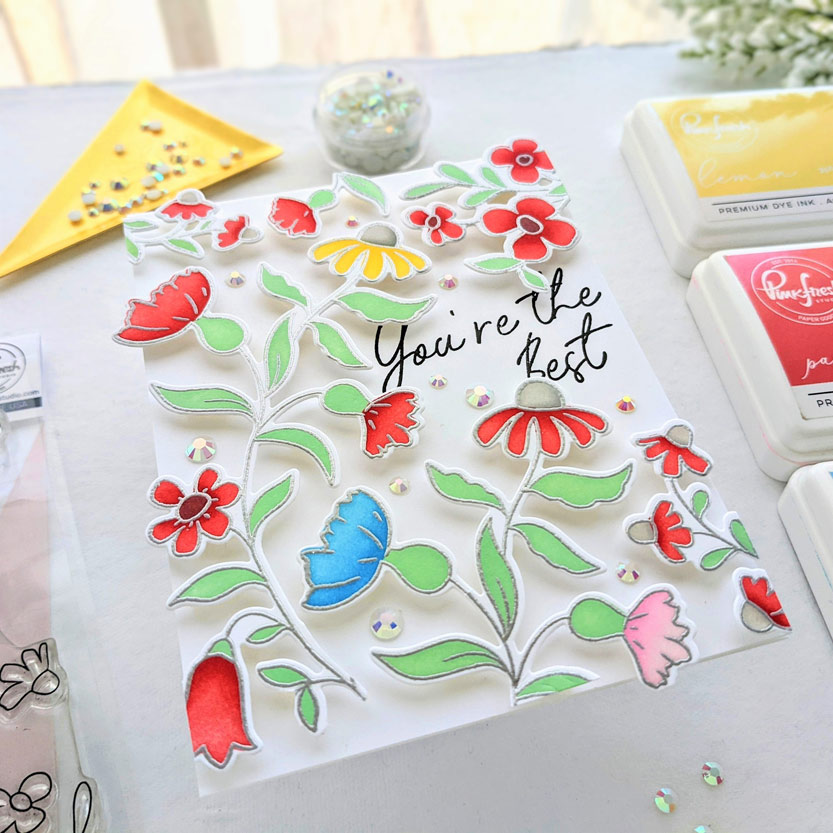
I got them cut and arranged, leaving space for that just-right sentiment included in the Wildflower Slimline stamp set. I love how the flow of the script matches the line of the wildflower drawing so perfectly. So casual, it almost looks like I wrote it!
After they were arranged I used a sealing wrap (like press-n-seal) placed gently down over them to pick them up but keep them in place where they were. I stuck two layers of foam tape, and a little bit of glue on top of those to give me some wiggle-time, on the back of all the flower pieces before placing them back on top of the card base. Yes, I held my breath, but it all worked out just fine.
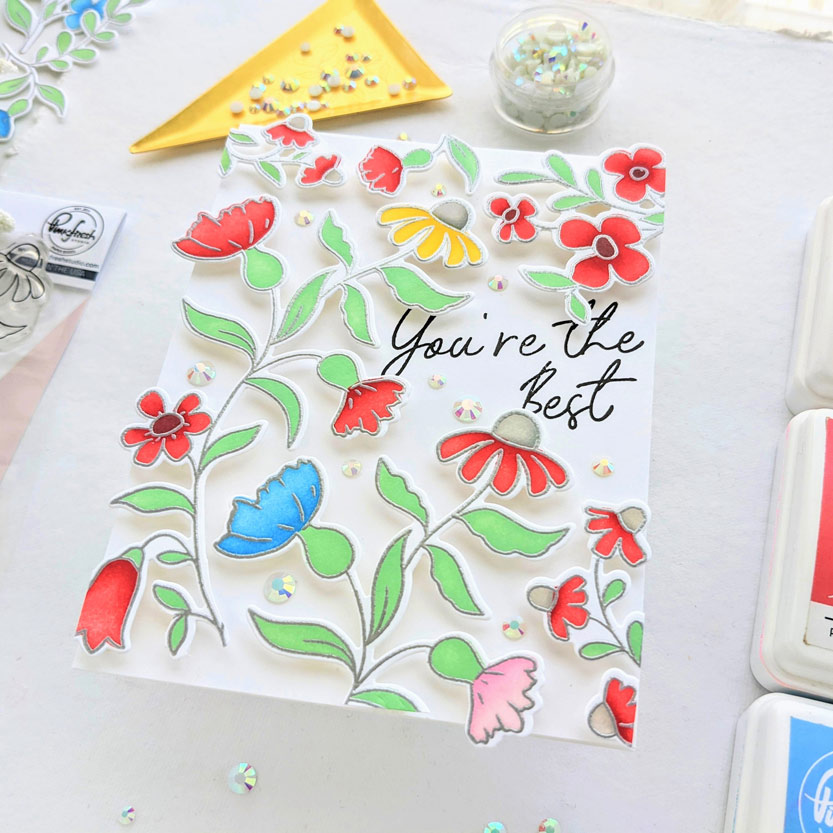
Then it was time for bling! I decided on glacier white jewels from the Jewels Mix, to blend into the background but still provide a pretty shimmer. I also think some of Pinkfresh’s colorful crystals would have been lovely. And I was done!
I hope some of these design choices have inspired you to make something new today, thank you so much for coming by!
-Anne

This is a beautiful card. I love how you popped all the flowers up off the front.
Oh, lovely! Thanks so much, Deborrah!
So gorgeous!